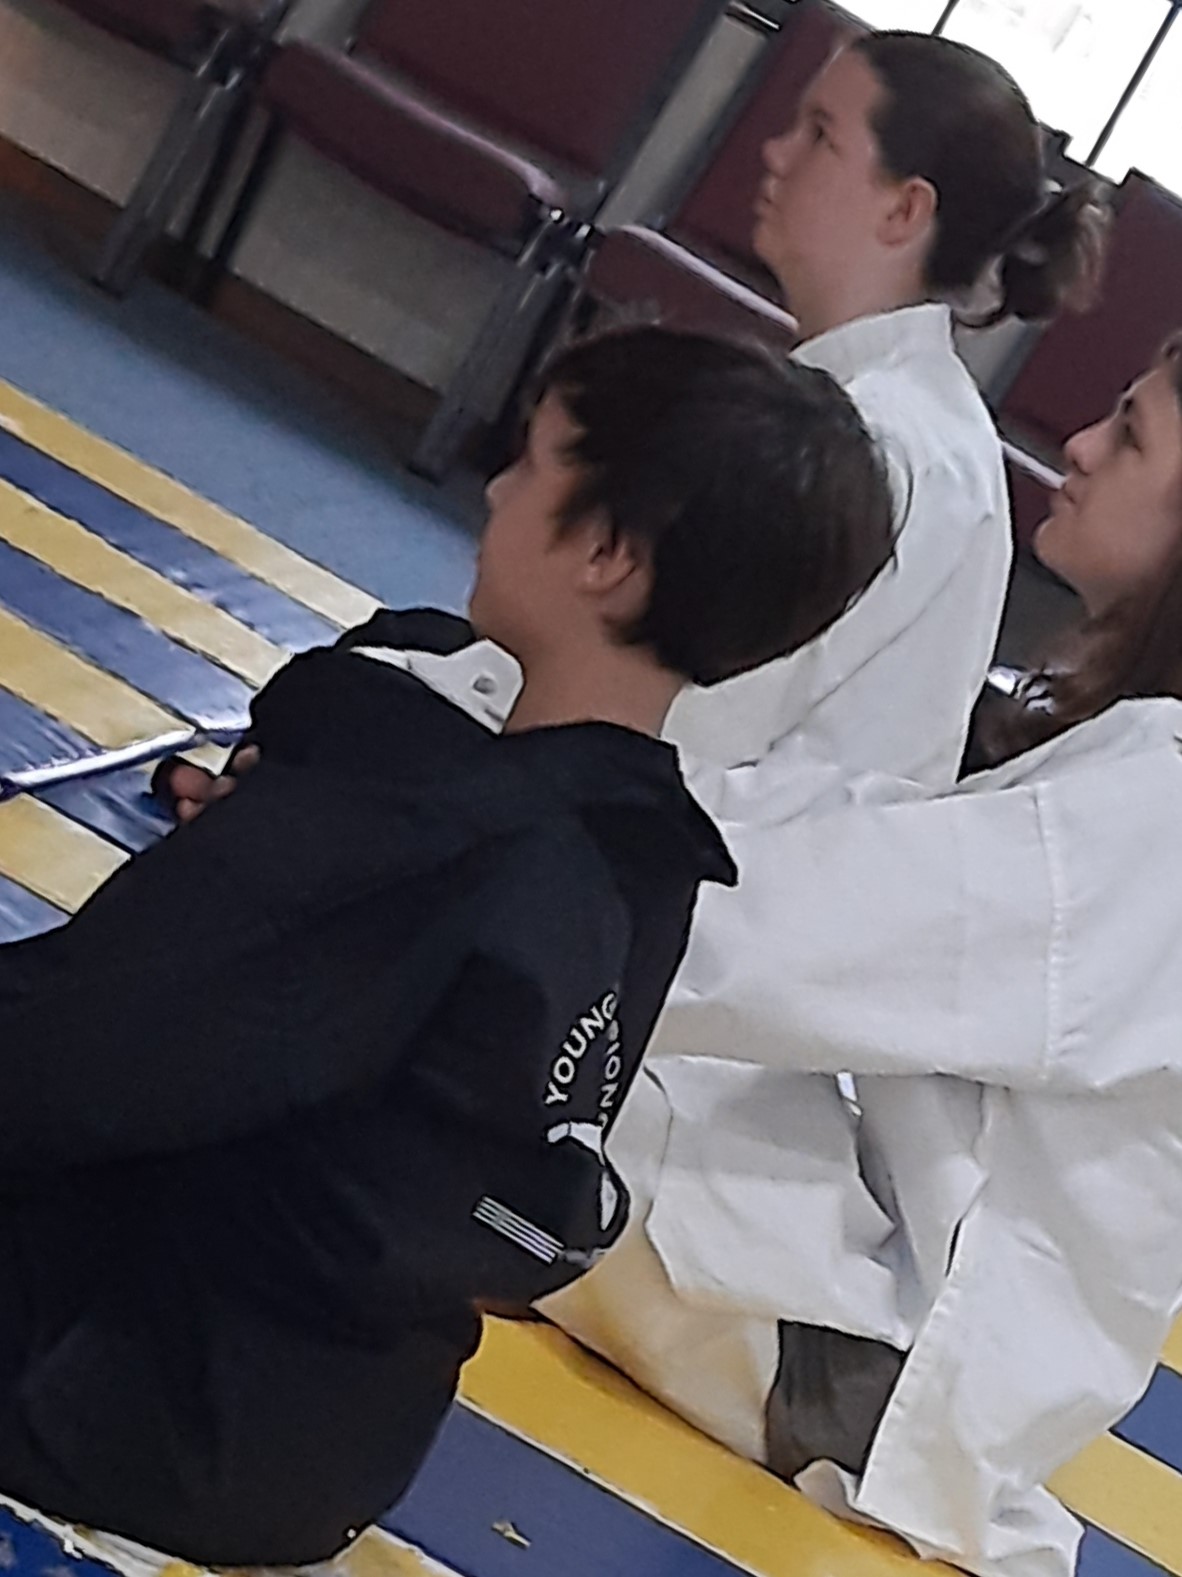
CPR In Children
 by Siam B
- Mar 17, 2022
- 0
- Category: What is CPR
The protocol for CPR in children is similar to that in adults.
Safety First
- Always make sure that the child is away from any impending danger. CPR should always be done in a safe location
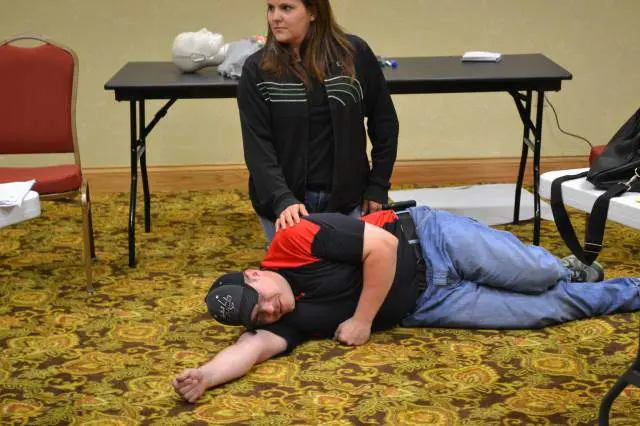
- The next step is to check the child’s level of consciousness. Do this by tapping the child on the shoulder and asking, “Are you okay?’ Or ‘Can you hear me?’
- The third step is to quickly scan the child to see if he or she has any obvious injuries, medical issues, or bleeding
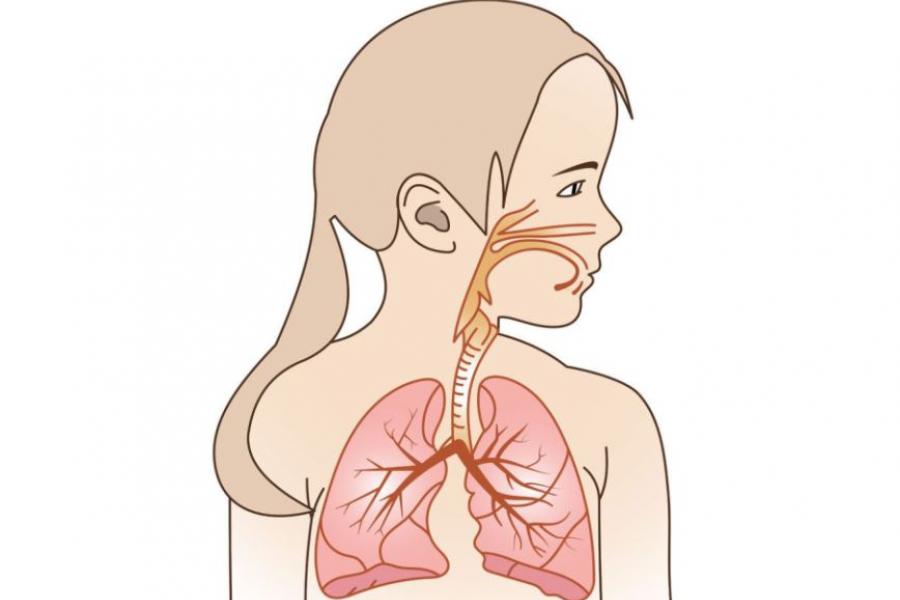
Check for Breathing
- Quickly check if the child is breathing on his own. You may have to put your ear next to the child’s nose or mouth and you may feel breath on your cheeks. At the same time, check to see if the child’s chest is moving.
- If the child is unconscious but you can see the chest moving, call 911 and wait for EMS to arrive. Children who can breathe do not need CPR
All the above maneuvers should not take more than 10-15 seconds. Time is of the essence and one has to be fast
Call 911
- If you are alone with the unresponsive child, call 911 after you have performed 2 mins of CPR.
- If there is help available, ask the other person to call 911 and also look for an AED.
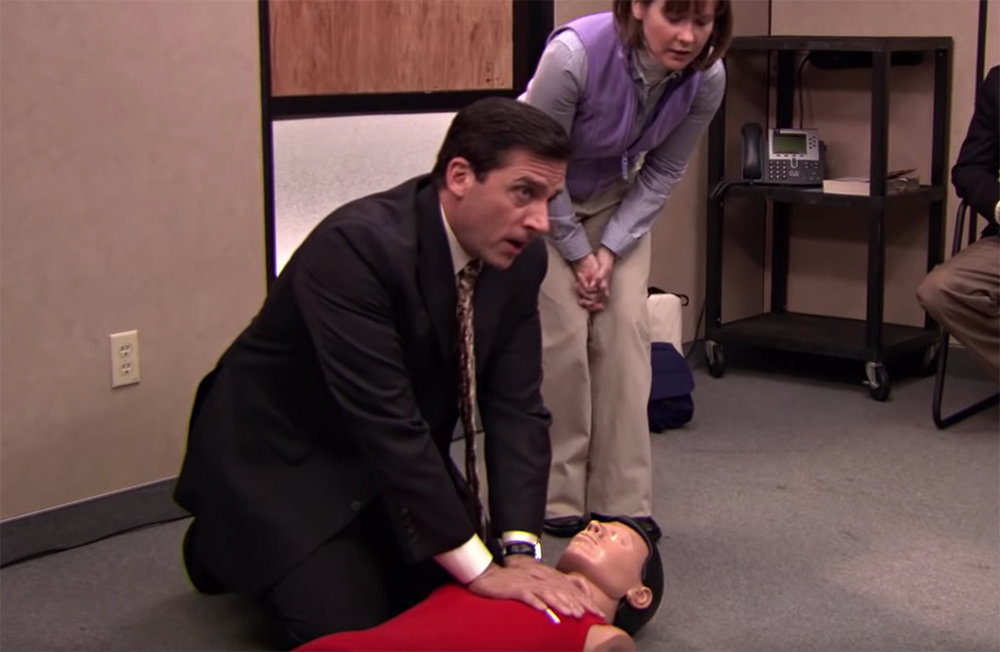
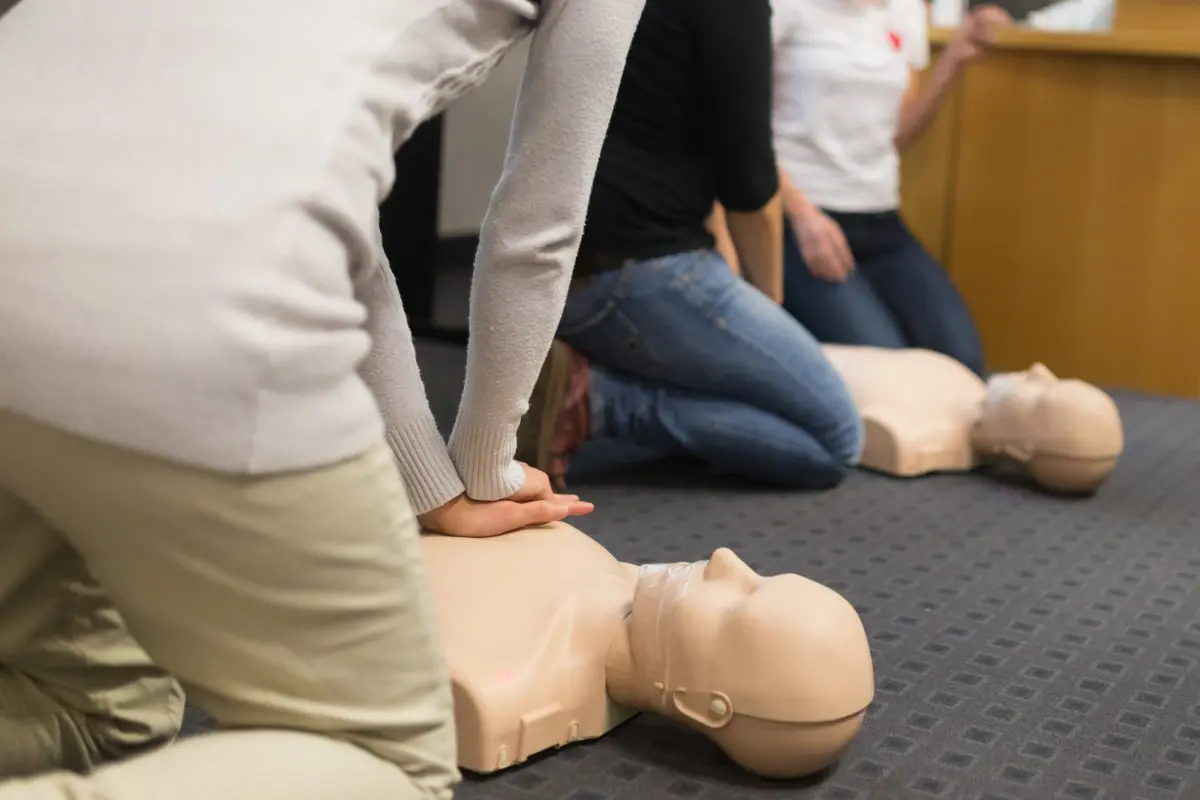
Start CPR
If there is no sign of breathing, start CPR ASAP
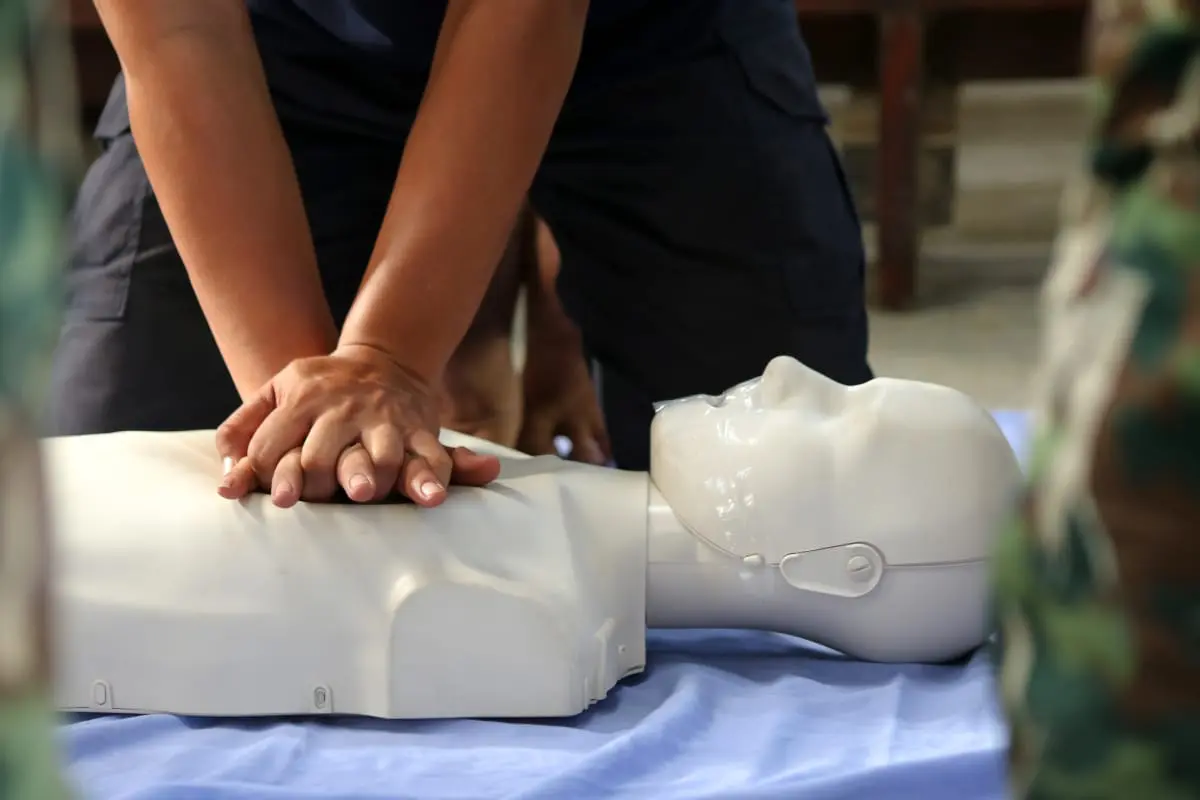
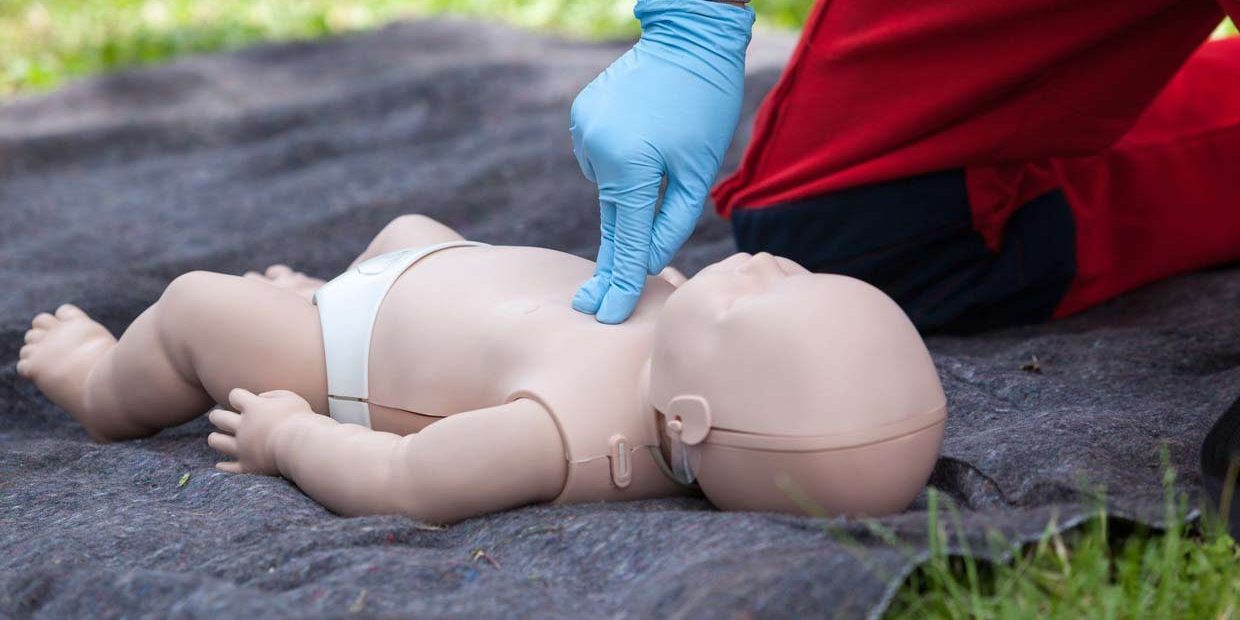
Chest compressions in a child
- First, gently place the child on his/her back against a firm surface
- Place the heel of one hand on the center of the chest at the nipple line. If the child is older, then you may want to use two hands to perform CPR- you can do this by placing the other hand on top of the first hand.
- In a child, the chest should be compressed by about 2 inches. It is vital not to compress the ribs as they are fragile and susceptible to fracture
- Perform 30 chest compressions at a rate of 100 per minute. Let the chest rise completely between each push
- After the first 30 compressions, quickly check to see if the child has resumed breathing
- If there is no breathing, resume CPR until EMS arrives.
Rescue Breathing
First, check to see if the child has resumed breathing from the CPR
- To open the child’s airway, lift the chin up with your right hand and at the same time, tilt the head back with the other hand by pushing down on the forehead.
- If you suspect that the child has a head or neck injury, do not tilt or manipulate the neck
- To perform rescue breathing, cover the child’s mouth with yours, pinch the nose and give breaths
- Give the child two breaths and each time check to see if the chest rises. Each breath should take no more than 1 second.
- If you do not see the chest rise with the first breath, retilt the head and ensure that you have a proper seal with your mouth before giving the 2nd breath.
- If the second breath does not cause the chest to rise, there may be an object blocking the child’s airway. Check the mouth quickly to see if there is any food or foreign body.
Continue CPR
If the child has not resumed breathing, continue with CPR and rescue breathing
- Offer two breaths for every 30 chest compressions
- If another individual is assisting you, perform 15 compressions followed by 2 breaths.
- Continue the cycle of 30 chest compressions and 2 breaths until the child resumes breathing or emergency help arrives.
What If You Are Alone
- If you are alone with the child and have already performed 2 minutes of CPR or about 4 cycles of compression and rescue breathing) call 911 and look for an AED.
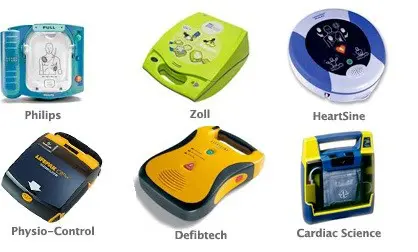
Using an AED
- As soon as an AED is available it should be utilized.
- For children less than 9 years of age, use a pediatrics automated external defibrillator if available.
- If a pediatric AED is not available, you may have to use the standard AED
AED use
- Turn on the AED
- Today almost all AEDs are automated and provide verbal directions on usage.
- Ensure that the child’s chest is dry and attach the pads as shown on the AED machine
- You will then be provided with step by step directions on how to use the AED from this point.
- Continue chest compressions and follow the AED prompts until the child resume breathing or emergency help arrives.
The only way to be proficient at CPR is to keep updated with the course and assist others when the opportunity arises.