July 2025 – Florida Schools Get a Jolt: New Law Mandates AEDs and CPR Training

 by Troy Bowman
- Jul 07, 2025
- 0
- Category: CPR in Florida
- School CERPs: A new law now requires Florida schools to develop cardiac emergency response plans.
- AED placement in schools: Not later than July 1, 2027, a new law also requires schools to have at least one properly maintained AED on school grounds.
Click the link to see the enacted version of FL House Bill 1607
This Florida House of Representatives bill, CS/HB 1607, focuses on enhancing cardiac emergency preparedness in public schools.
Here’s a breakdown of its key provisions:
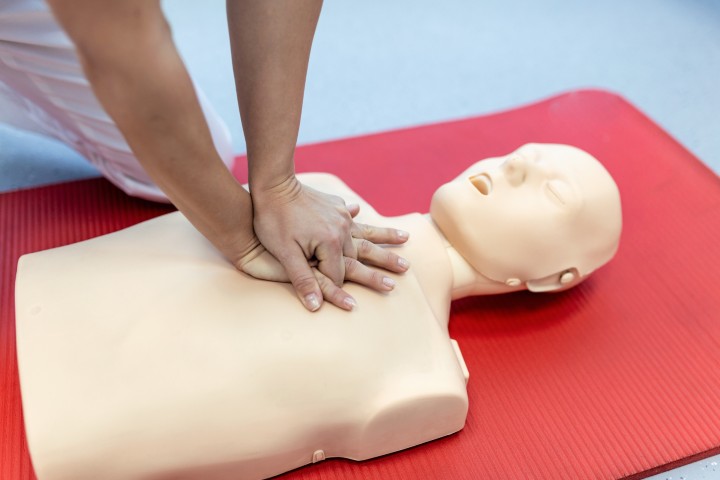
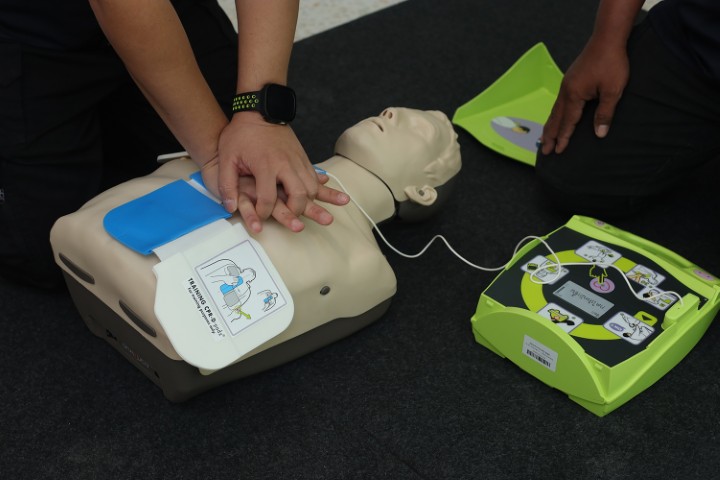
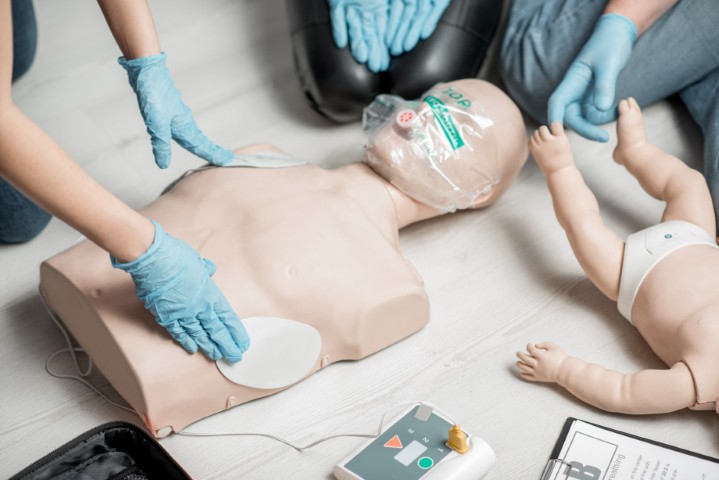
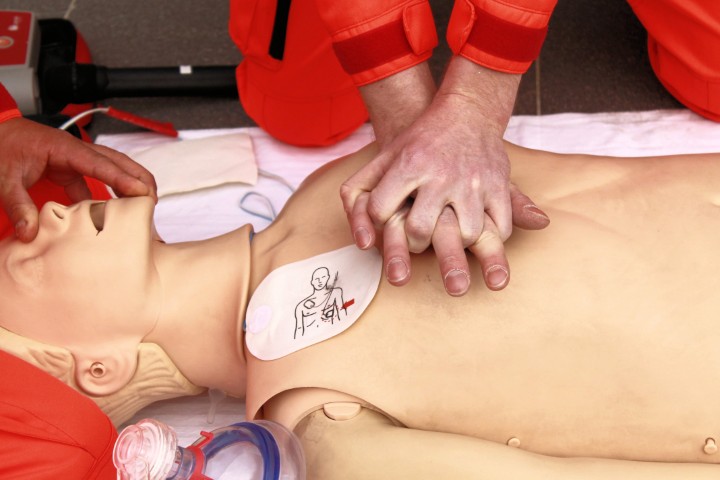
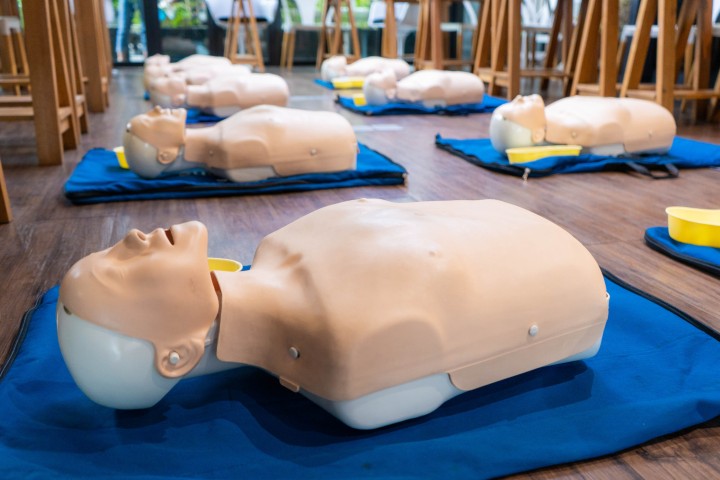
- Mandatory First Aid Training: It changes existing law to require, rather than just authorize, school districts to provide basic first aid and CPR training to students in middle and high school. This training must include practicing psychomotor skills and using automated external defibrillators (AEDs).
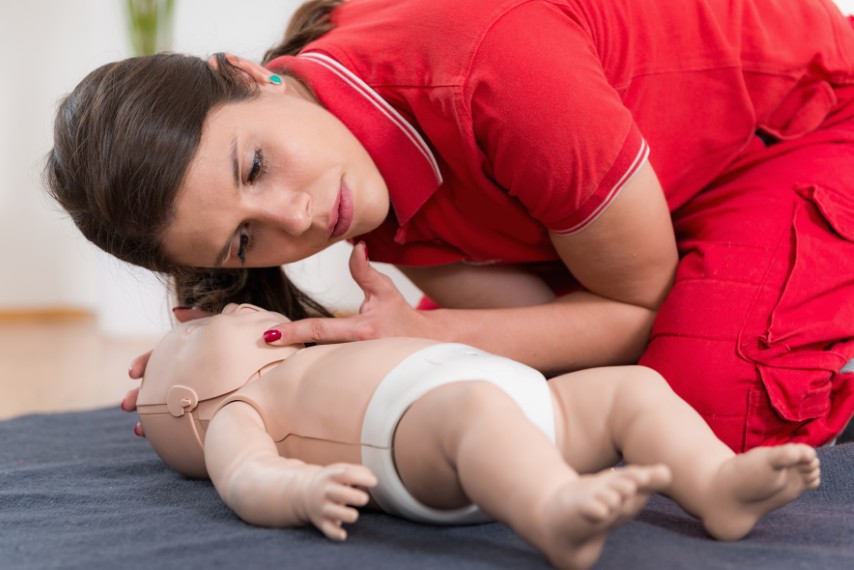
- Urgent Life-Saving Emergency (PULSE) Plans: Each public school must develop a PULSE plan to guide school personnel in responding to sudden cardiac arrest and similar emergencies. These plans need to integrate evidence-based elements and be coordinated with local emergency services.
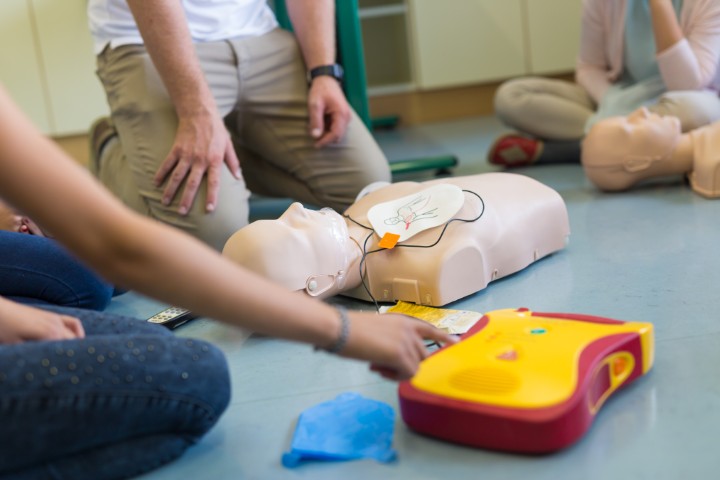
- AED Requirements: By July 1, 2027, every public school (including charter schools) must have at least one operational AED on school grounds. These AEDs must be clearly marked, publicly accessible, and properly maintained.
- Staff Training and Immunity: Appropriate school staff must receive training in first aid, CPR, and AED use. The location of AEDs must be registered with local emergency medical services. The bill also provides immunity from liability for school employees and volunteers who use AEDs, under existing Good Samaritan acts.
- Rulemaking and Effective Date: The State Board of Education is required to adopt rules to implement these changes, with an effective date of July 1, 2025.
In-Pulse CPR (www.inpulsecpr.com) is uniquely positioned to help Florida public schools fulfill the comprehensive requirements of CS/HB 1607, the new Cardiac Emergencies bill.
With decades of experience as a leading provider of CPR, First Aid, and AED training, In-Pulse CPR offers nationally recognized programs that align perfectly with the bill’s mandates. We can deliver the essential psychomotor skills-based instruction for both students in middle and high school, as well as the specialized training required for school staff in the proper use and maintenance of AEDs. Beyond just training, In-Pulse CPR can also assist schools in developing robust Urgent Life-Saving Emergency (PULSE) plans, ensuring they integrate evidence-based core elements and facilitate seamless coordination with local emergency service providers, as explicitly required by the new legislation. Our expertise in not only equipping individuals with life-saving skills but also helping organizations create effective emergency response protocols makes In-Pulse CPR an invaluable partner for Florida schools striving to meet these critical new safety standards by the July 1, 2027 deadline.
Case Study: Pinellas County Schools and In-Pulse CPR – A Decade of Life-Saving Partnership
Since 2017, Pinellas County Schools has forged a powerful and enduring partnership with In-Pulse CPR (www.inpulsecpr.com), a collaboration that has been instrumental in building a sustainable, in-house program for life-saving training. This long-standing relationship goes beyond simple instruction; it focuses on empowering a new generation of county staff to become certified instructors, creating a ripple effect of preparedness throughout the school district.
This strategic approach has allowed Pinellas County Schools to not only meet but exceed evolving safety standards. By working closely with In-Pulse CPR, they’ve been able to:
- Develop a Self-Sustaining Training Model: Instead of relying solely on external trainers for every session, In-Pulse CPR has equipped Pinellas County staff with the skills and certifications necessary to teach CPR, First Aid, and AED usage themselves. This ensures consistent, accessible training for a wide range of personnel.
- Enhance District-Wide Preparedness: With more trained instructors internally, the district can conduct more frequent and tailored training sessions for teachers, administrators, support staff, and even students, significantly increasing the number of individuals capable of responding to medical emergencies.
- Ensure Curriculum Alignment and Quality: In-Pulse CPR, as a provider of nationally recognized programs, ensures that the training delivered within Pinellas County Schools adheres to the latest evidence-based guidelines for emergency cardiovascular care, including the use of automated external defibrillators (AEDs).
- Anticipate and Adapt to New Requirements: As evidenced by recent legislative changes like Florida’s CS/HB 1607 (effective July 1, 2025), which mandates comprehensive cardiac emergency preparedness in schools, Pinellas County Schools’ proactive partnership with In-Pulse CPR has positioned them to seamlessly integrate new requirements and expand their life-saving initiatives. Their established internal instructor pool will be crucial in implementing widespread student and staff training mandated by the new law.
This enduring collaboration between Pinellas County Schools and In-Pulse CPR exemplifies a forward-thinking commitment to student and staff safety, ensuring that the entire school community is better equipped to handle critical emergencies.
School districts (health coordinators, safety officers, student services directors, etc.) in Florida seeking assistance with developing a Cardiac Emergency Response Plan (CERP) are encouraged to contact Christina Bassan at christina@inpulsecpr.com for more information and support.
Resources:
– Readiness Systems
-Florida Department of Education (FLDOE)
-Readiness and Emergency Management for Schools (REMS) Technical Assistance Center (SAMHSA)
-National Association of School Nurses (NASN)
–American Heart Association (AHA)