Why Every CPR Class Includes AED Training
Many people understand the importance of learning CPR, but not everyone realizes why AED training is just as critical. In a sudden cardiac arrest, CPR keeps blood moving, but an AED is what can restart the heart. The two work together, and one without the other is often not enough.
Because of this, AEDs are now found in airports, gyms, schools, churches, sports facilities, malls, offices, and community buildings. These devices are placed in public spaces for one reason: early defibrillation saves lives.
Why AEDs Matter
Sudden cardiac arrest is most often caused by a dangerous heart rhythm called ventricular fibrillation. In this rhythm, the heart is quivering instead of pumping, and blood is no longer being circulated.
The only effective treatment for ventricular fibrillation is defibrillation, which is the electrical shock delivered by an AED.
Survival rates are directly tied to how quickly that shock is delivered:
• Defibrillation within three minutes can increase survival by up to 70 percent
• AED use within one minute of collapse can raise survival to as high as 90 percent
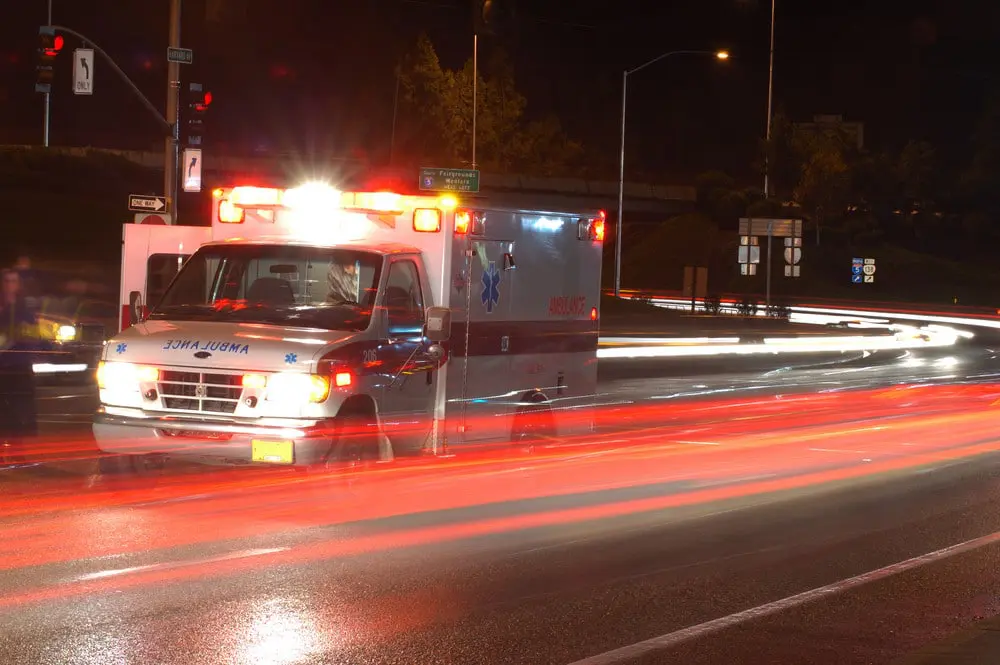
Waiting for emergency responders is often too long. In most communities, ambulances take 8 to 10 minutes to arrive, and brain injury can begin in just 4 to 6 minutes without oxygen.
AEDs Are Designed for Everyday People
An Automated External Defibrillator is built to be used by anyone, even without medical training. The device gives clear voice instructions and will only deliver a shock if it is medically necessary.
AEDs analyze the heart rhythm automatically and prevent accidental shocks, making them safe, simple, and reliable.
If you are the first person to reach someone who has collapsed, you may be their only chance to receive defibrillation before EMS arrives.
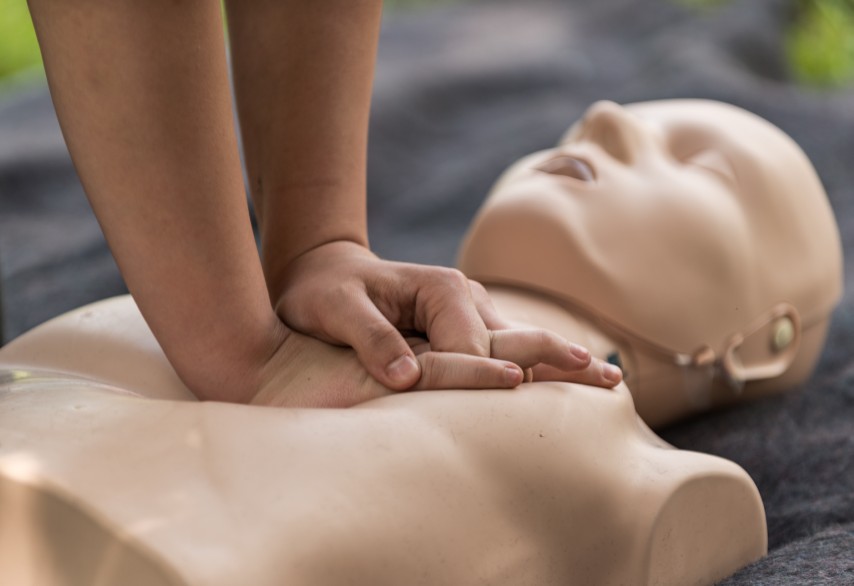
CPR and AEDs Work Together
An AED does not replace CPR. It works alongside it.
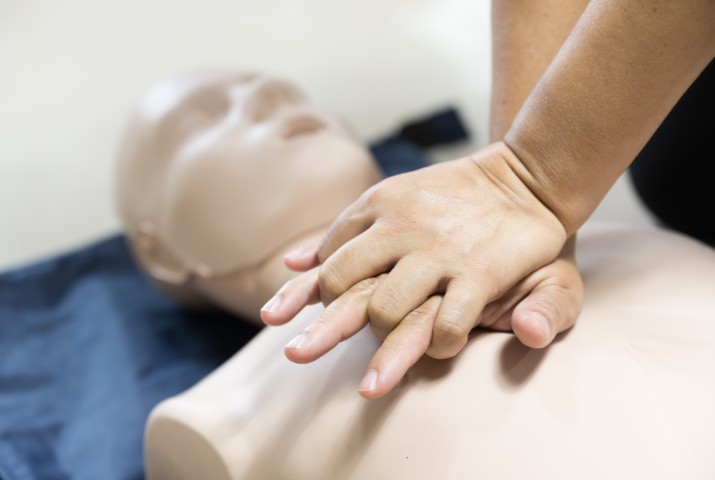
• CPR keeps oxygenated blood moving to the brain and heart
• The AED corrects the heart’s dangerous rhythm
After a shock is delivered, CPR must continue immediately until the heart regains a stable rhythm or paramedics take over. If an AED is not available, start CPR right away while waiting for emergency responders.
When to Use an AED
An AED should be used when a person:
• Suddenly collapses
• Is unresponsive
• Is not breathing normally
Even if you did not witness the collapse, use the AED if you find someone in this condition.
Call 911, send someone to retrieve the AED, and begin CPR while it is being brought to you.
Every minute without defibrillation reduces the chance of survival by 7 to 10 percent.
Workplace AEDs Save Lives
OSHA and safety organizations now strongly encourage AED placement in workplaces, and many states are adopting laws that require AEDs in certain buildings.
If your business or organization owns an AED, your staff must be trained to use it quickly and correctly. An AED on the wall does not save lives unless people are confident using it.
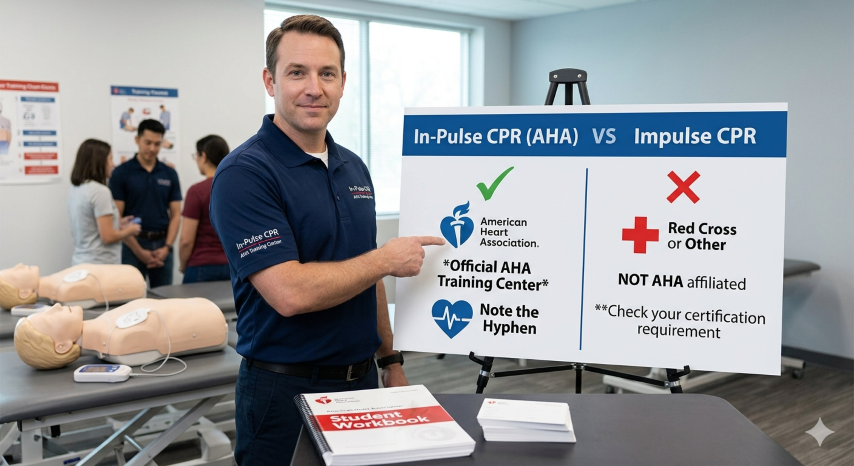
In-Pulse CPR Can Help
In-Pulse CPR provides hands-on CPR and AED training for businesses, schools, churches, and community organizations across Minnesota, Florida, Pennsylvania, and Tennessee.
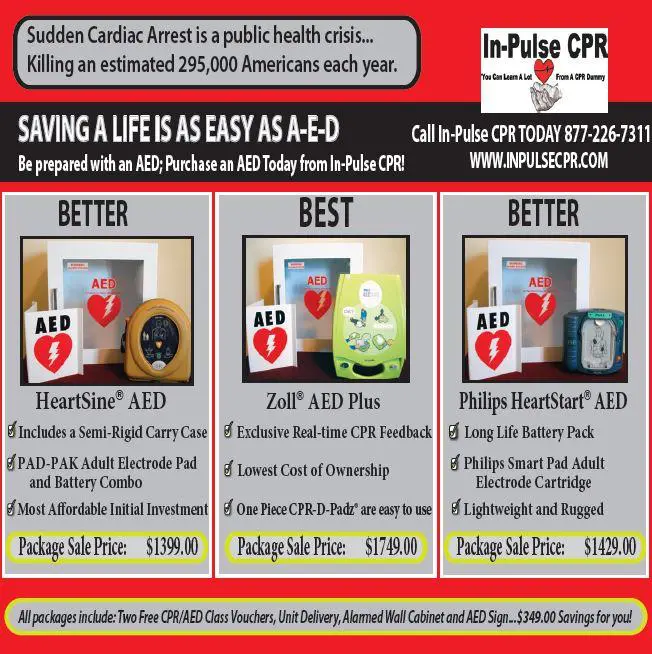
We also offer AEDs at discounted pricing for organizations that want to improve their emergency preparedness.
Contact In-Pulse CPR to learn more about AED training or to equip your workplace with this lifesaving technology.
In-Pulse CPR is now offering AED’s at a special
discounted price. Contact our office for details.
 by Troy Bowman