Why You Should Learn First-Aid Along with CPR
 by Donna Ryan
- Jul 12, 2023
- 0
- Category: What Employers Need to Know
It’s not hard to find a reason to learn CPR or first-aid. After all, both skills can save lives. What you might not know is that there are plenty of reasons to learn both skills together.
Doing so will prepare you for any emergency situation and increase your self-confidence.
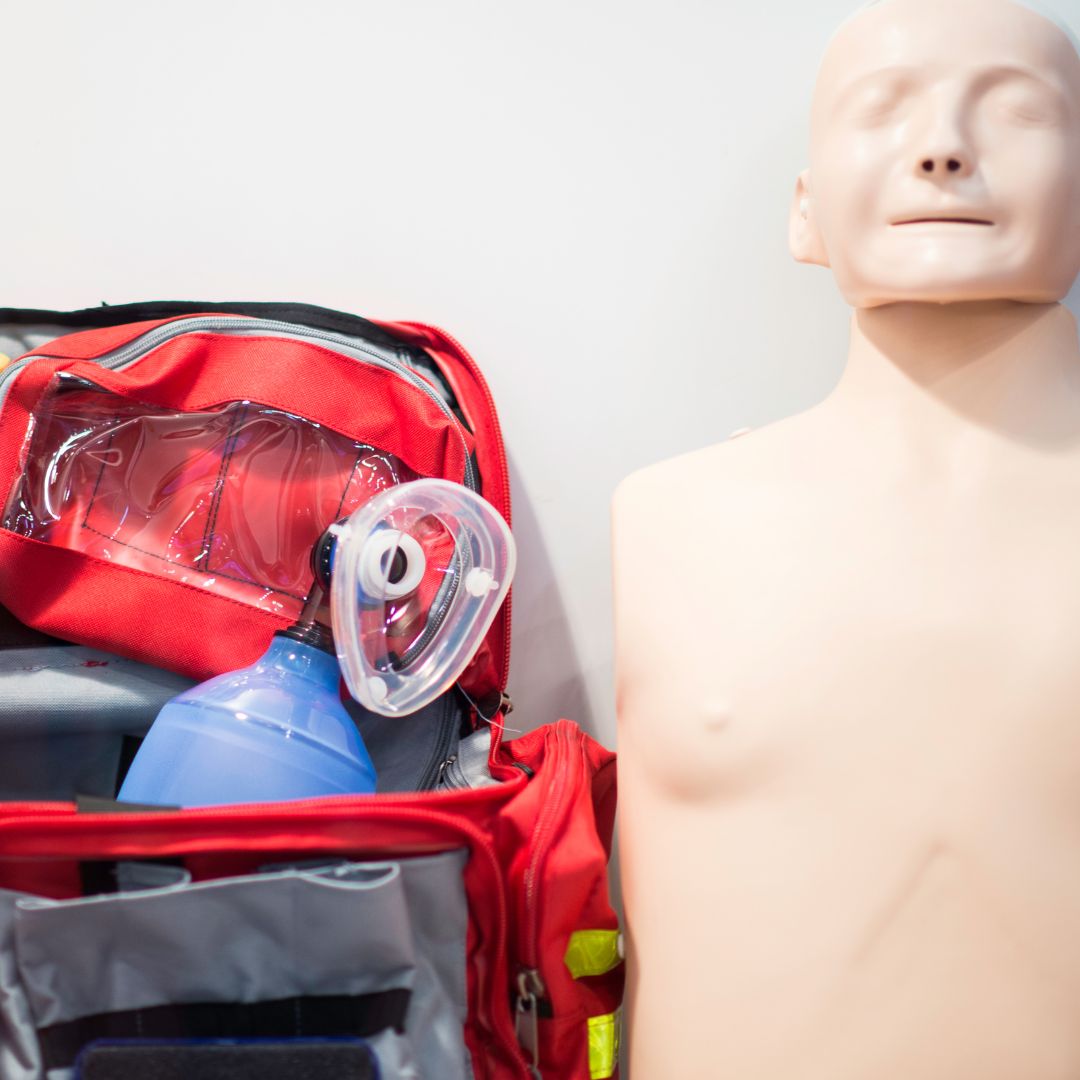
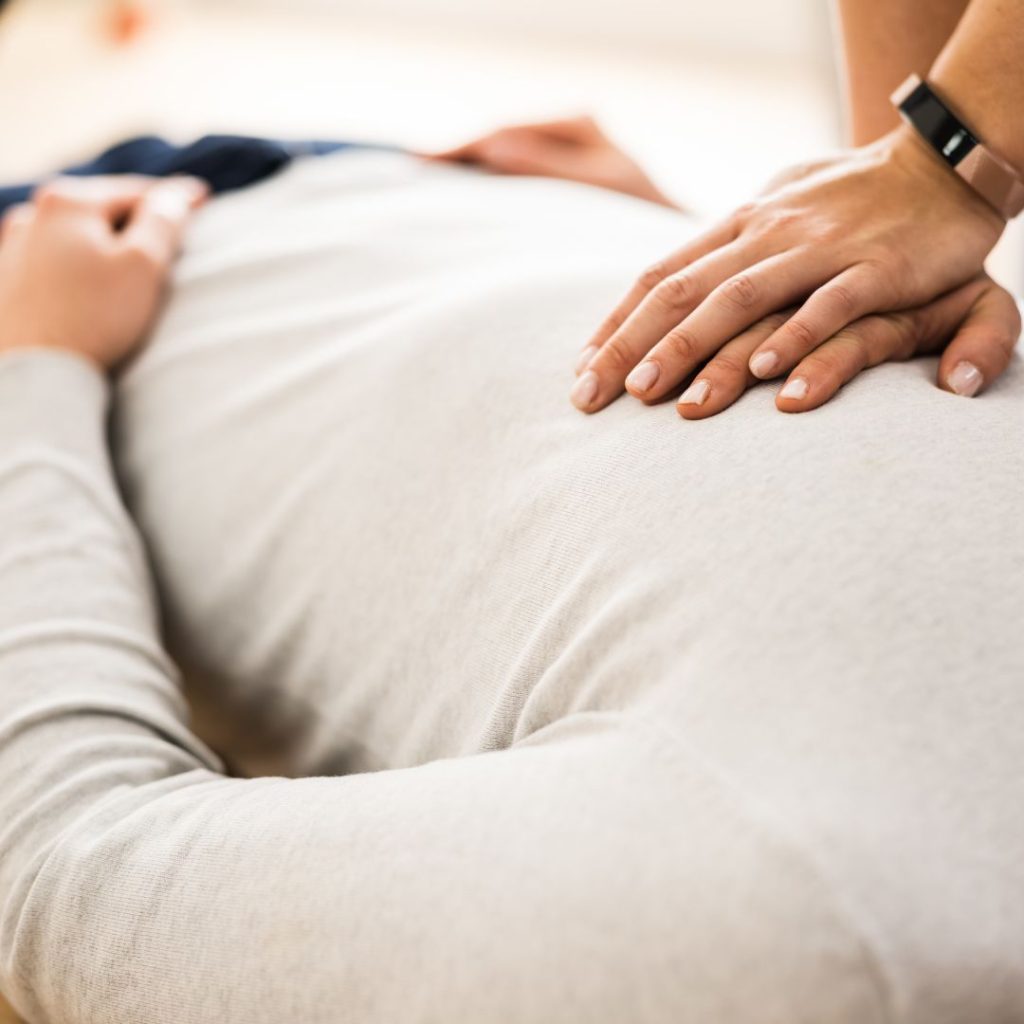
What is first-aid?
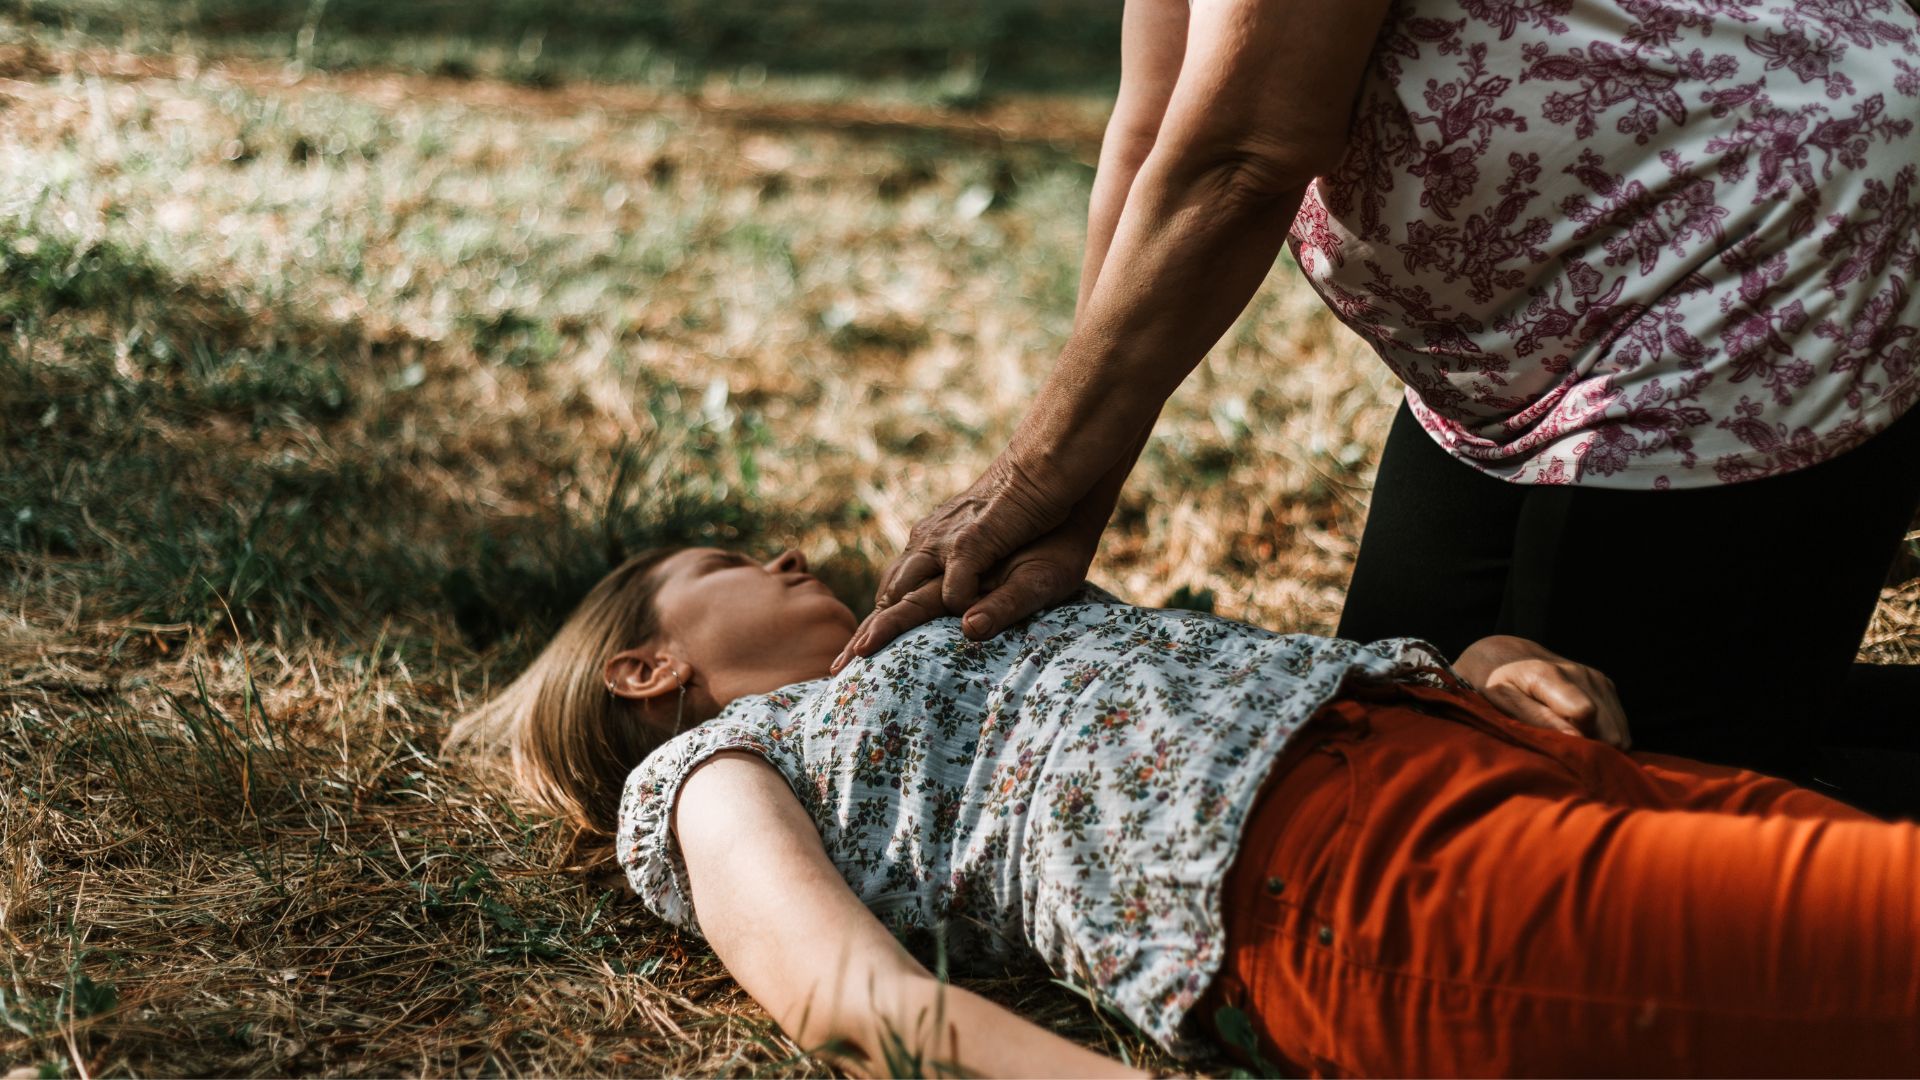
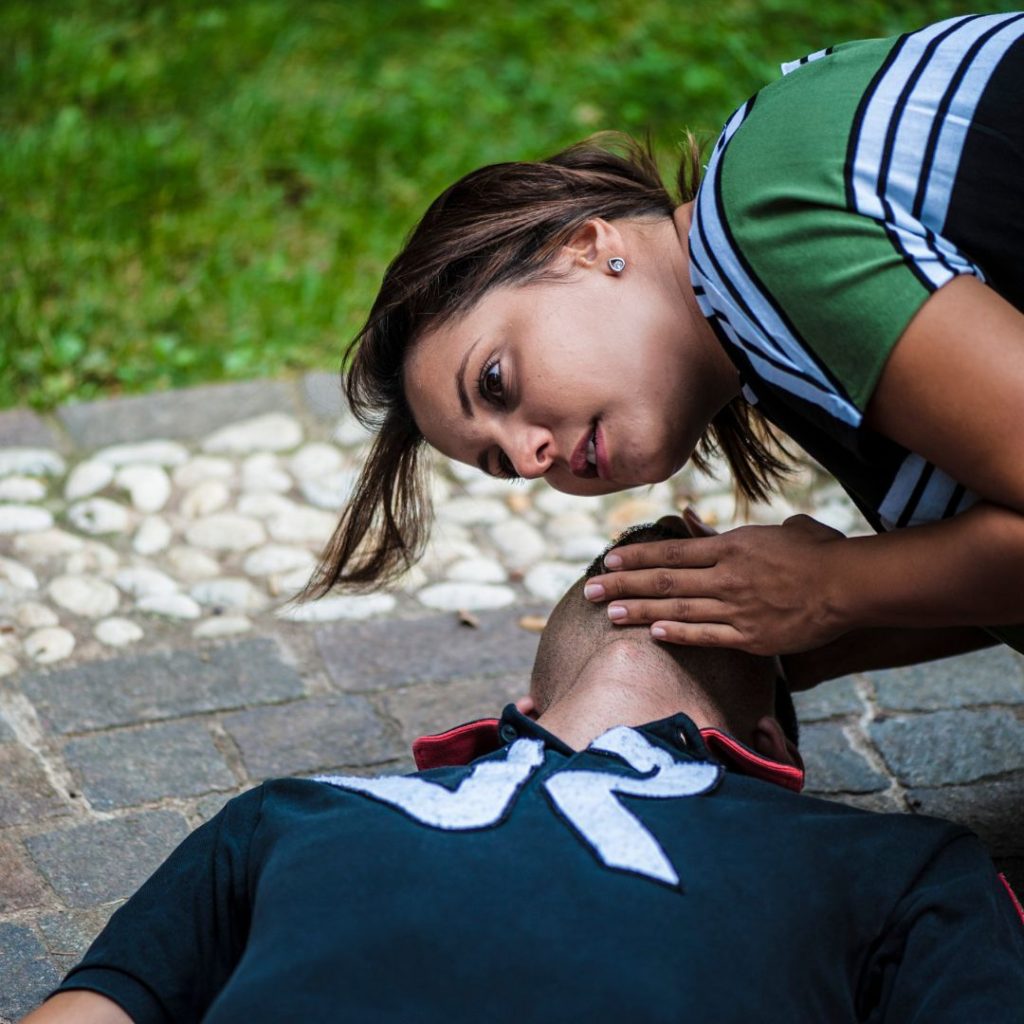
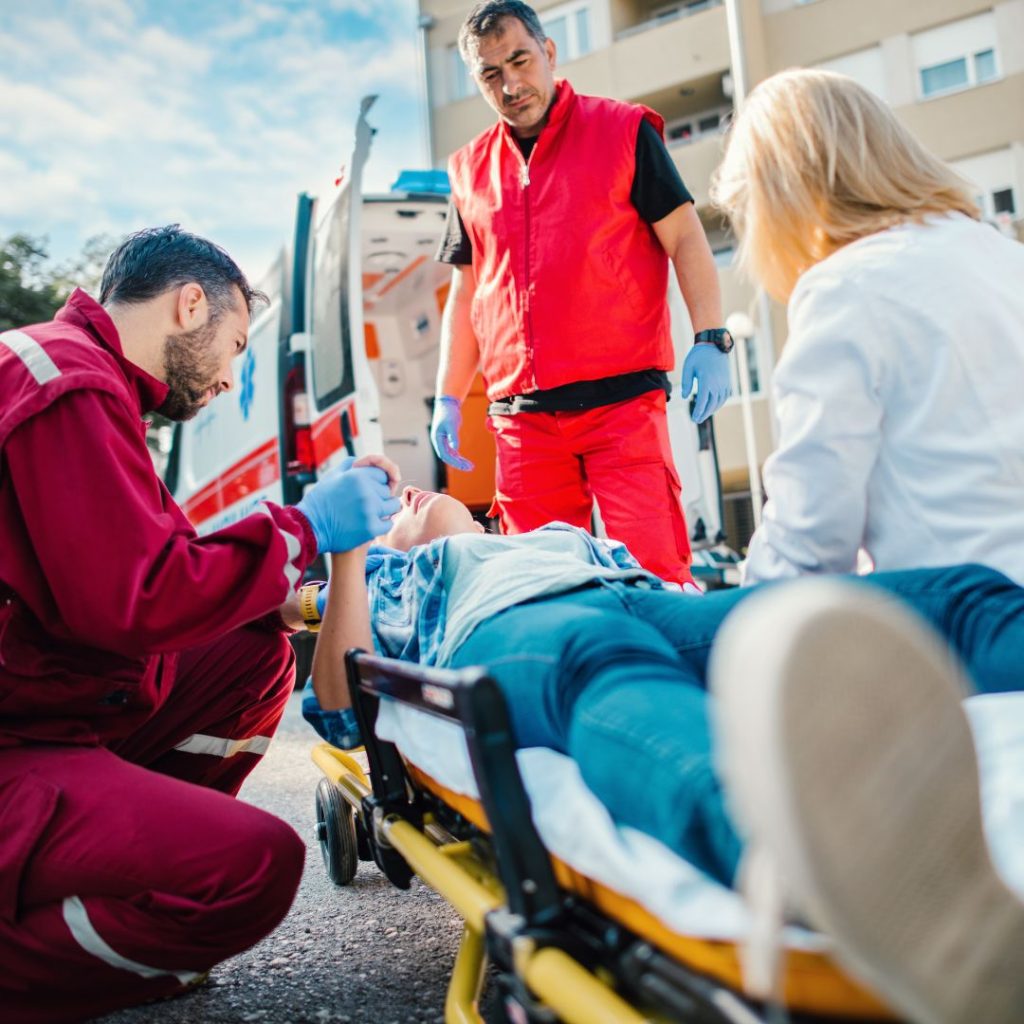
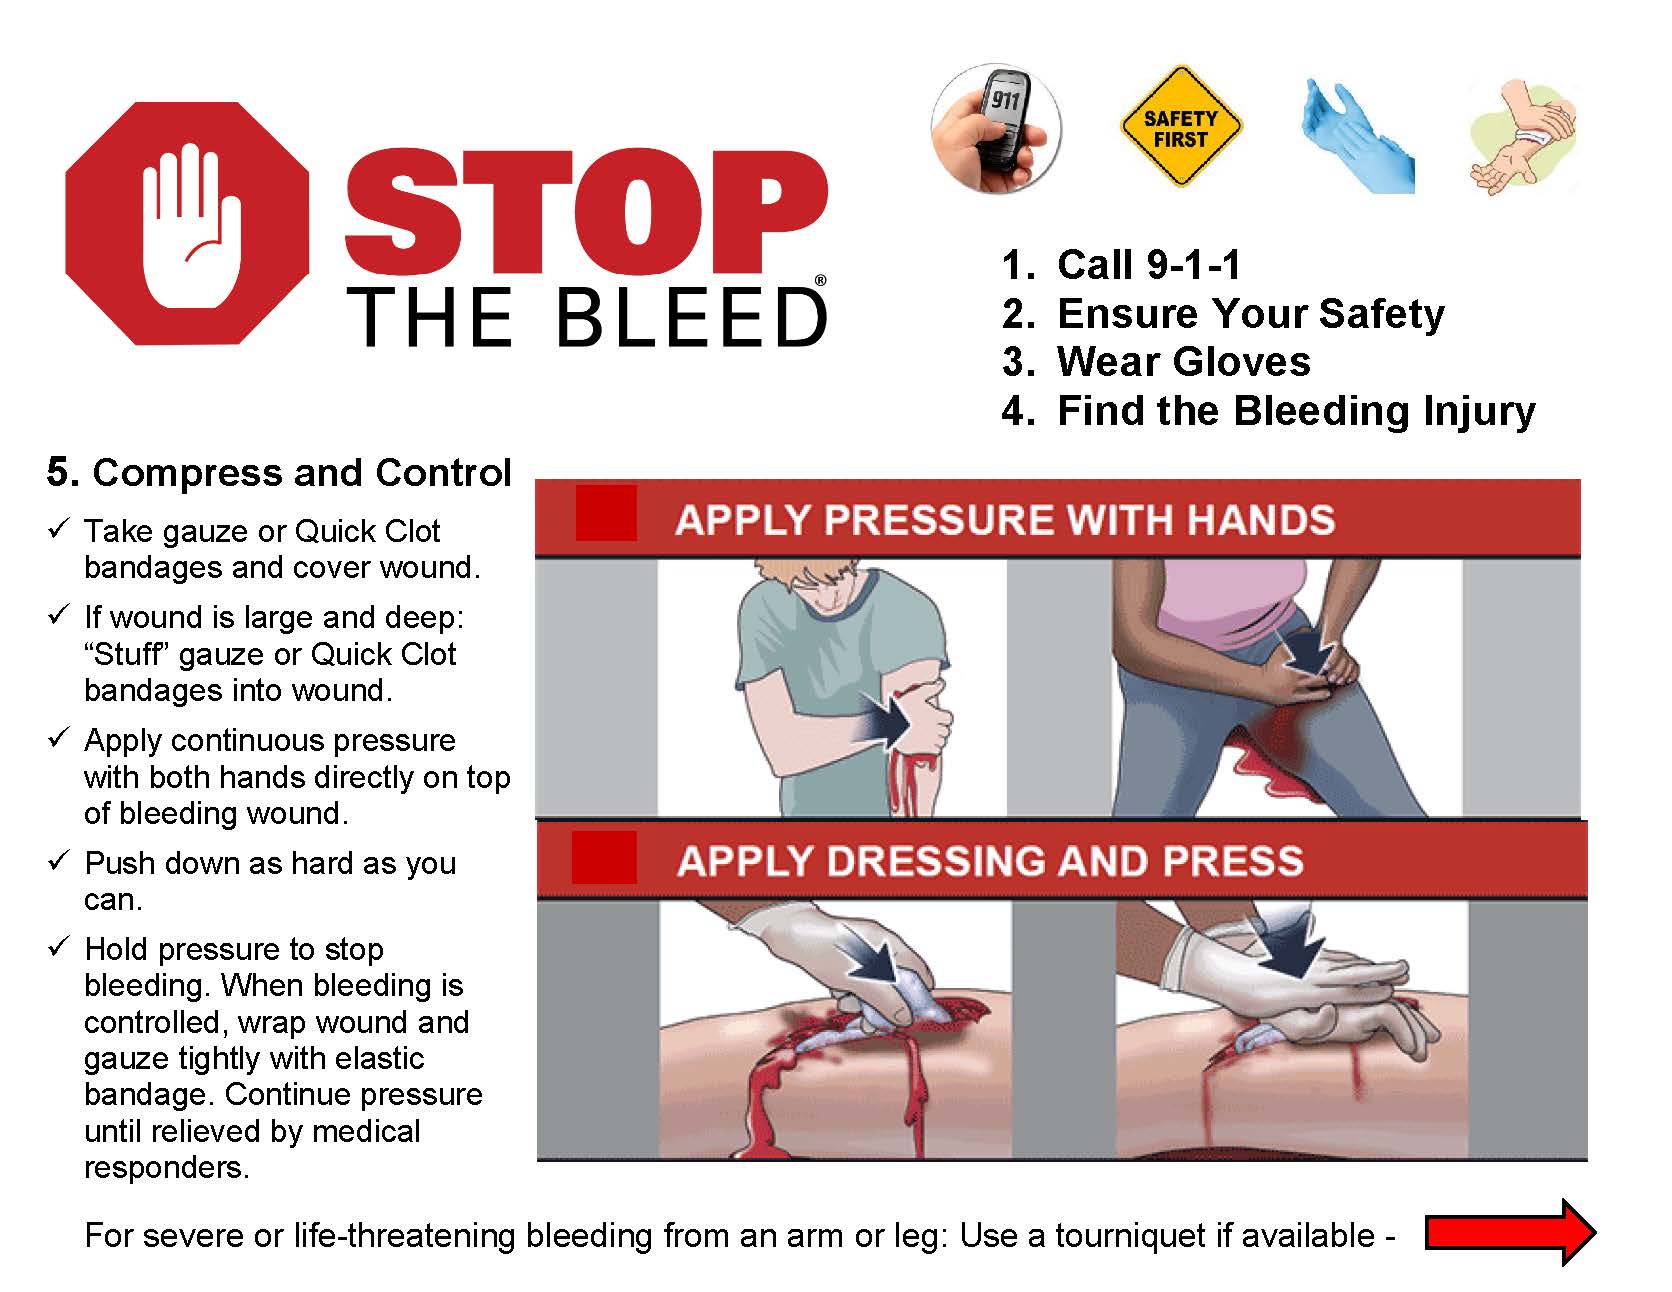
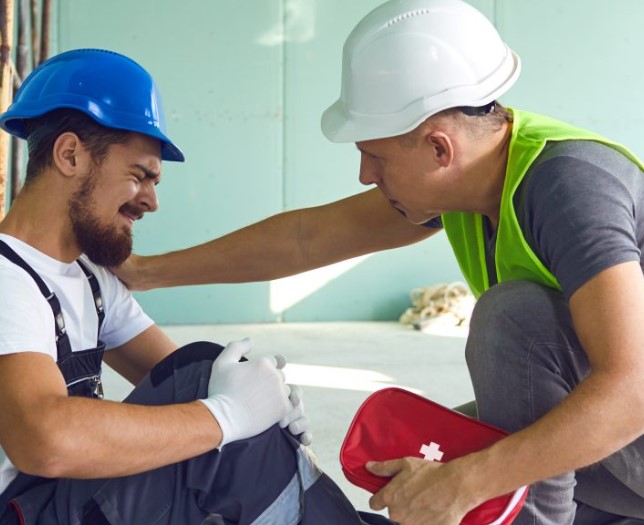
First aid is the assistance given to any person suffering a sudden illness or injury, with care provided to preserve life, prevent the condition from worsening, or to promote recovery. Knowing this skill allows you to provide initial intervention while waiting on professional help to arrive. First aid can be administered by someone with no medical training, and can be helpful during emergencies, such as fires, chemical spills, or auto wrecks.
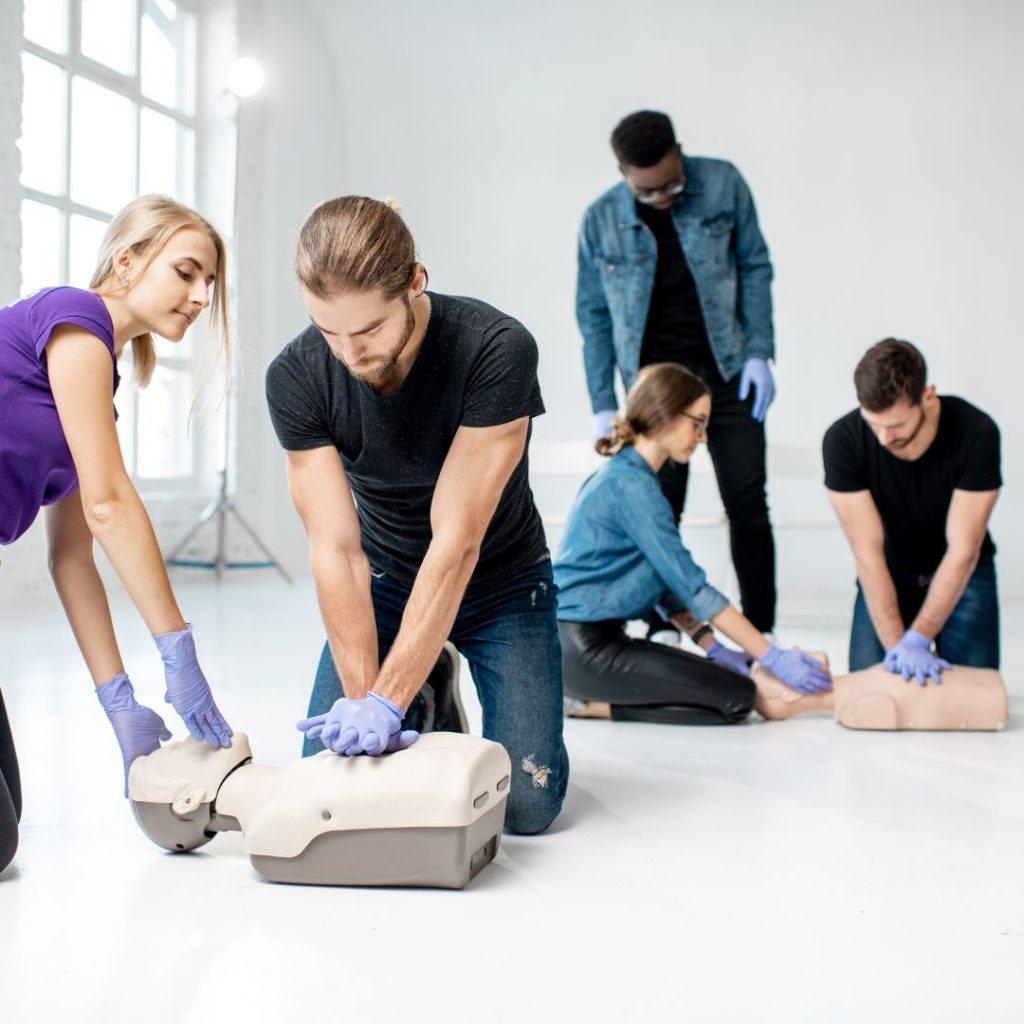
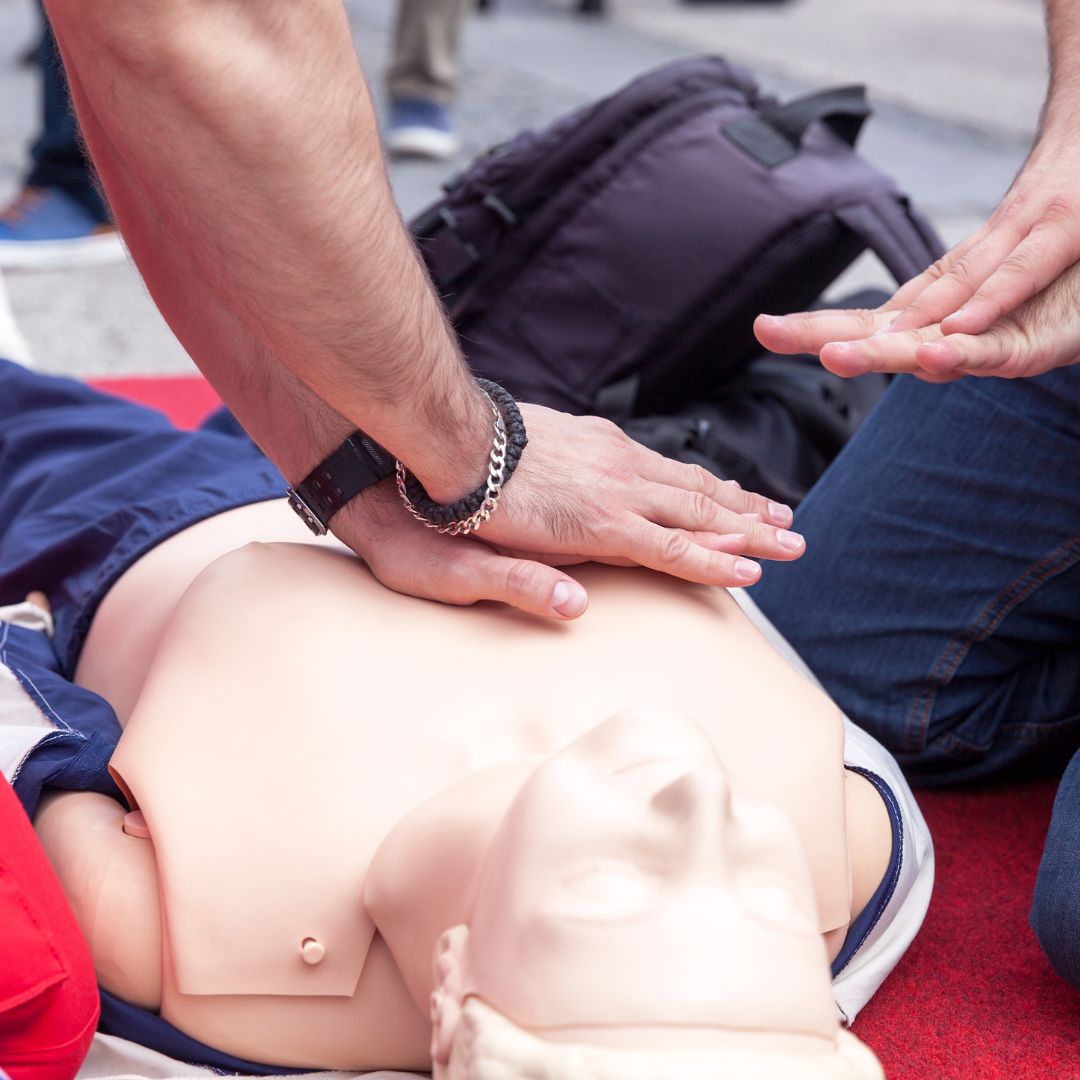
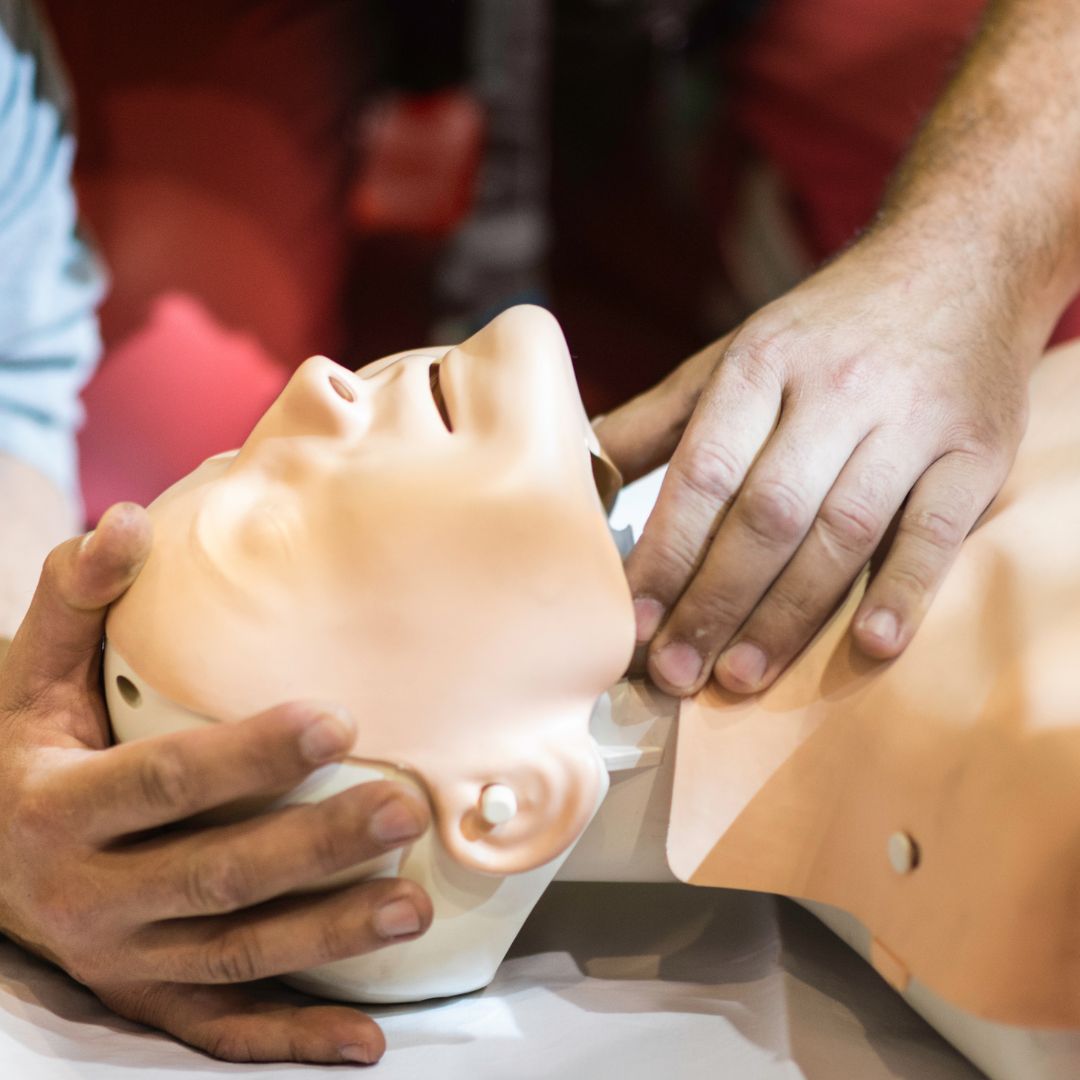
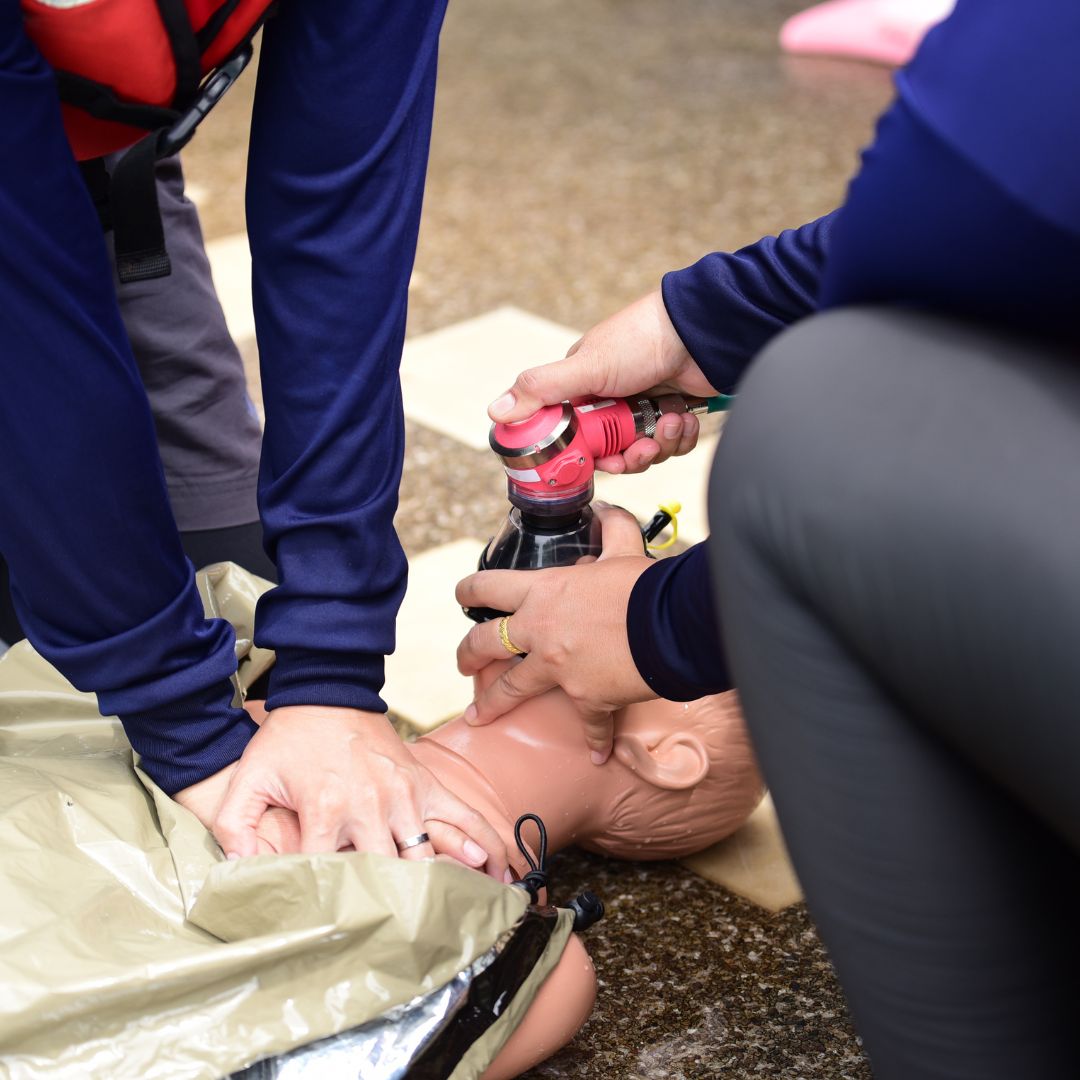
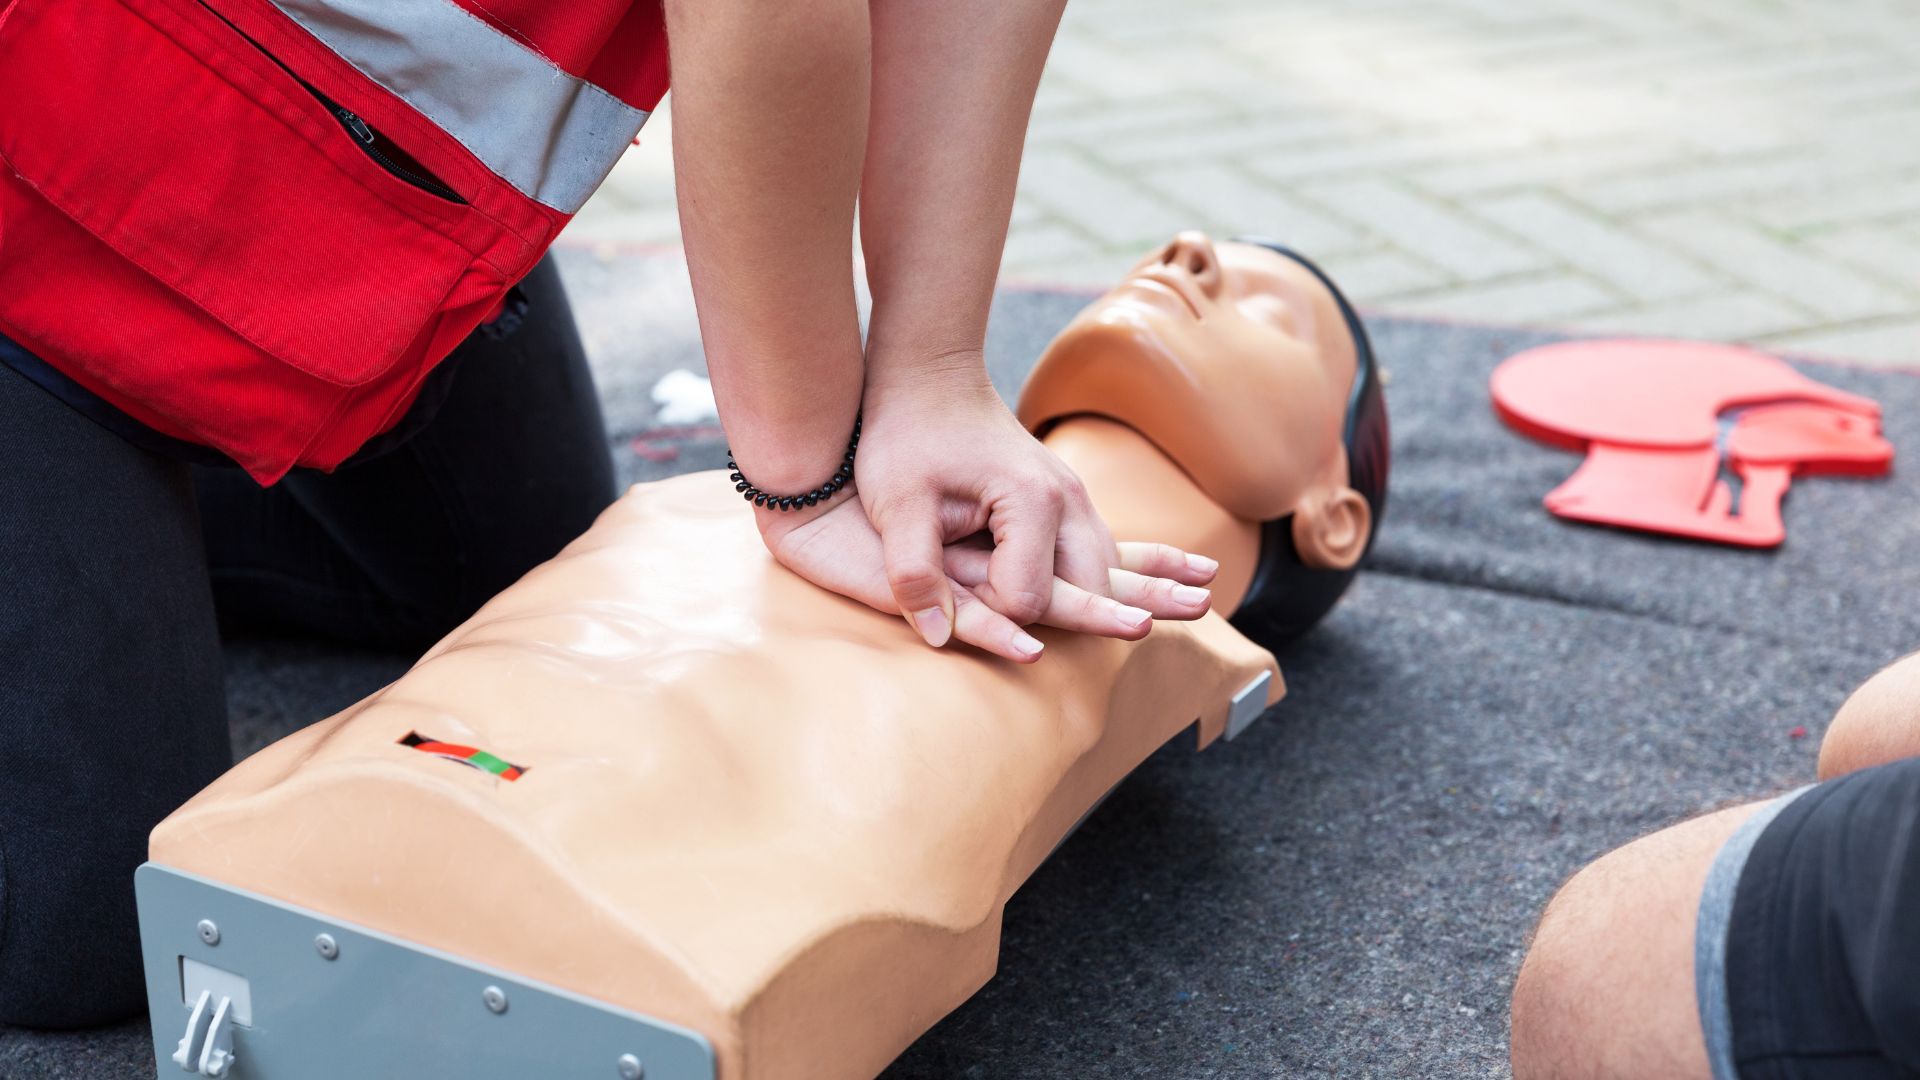
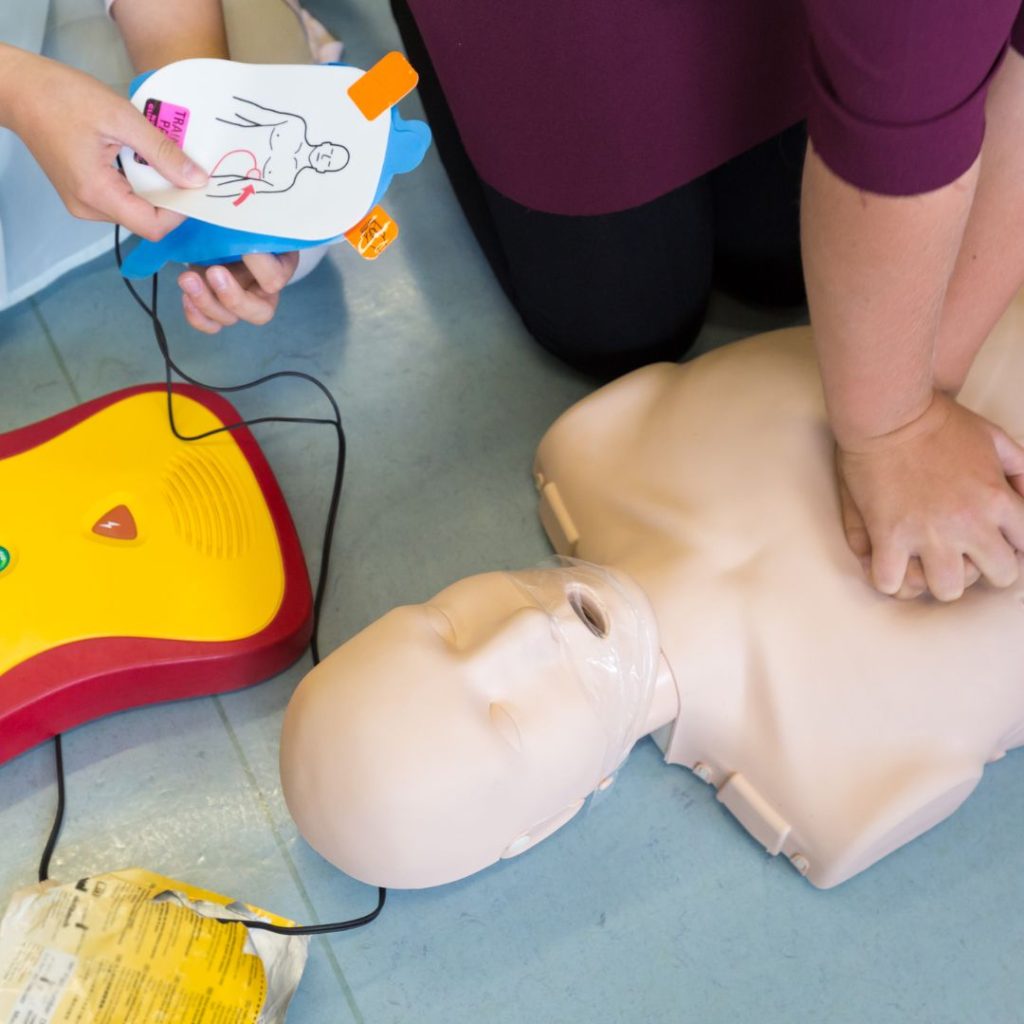
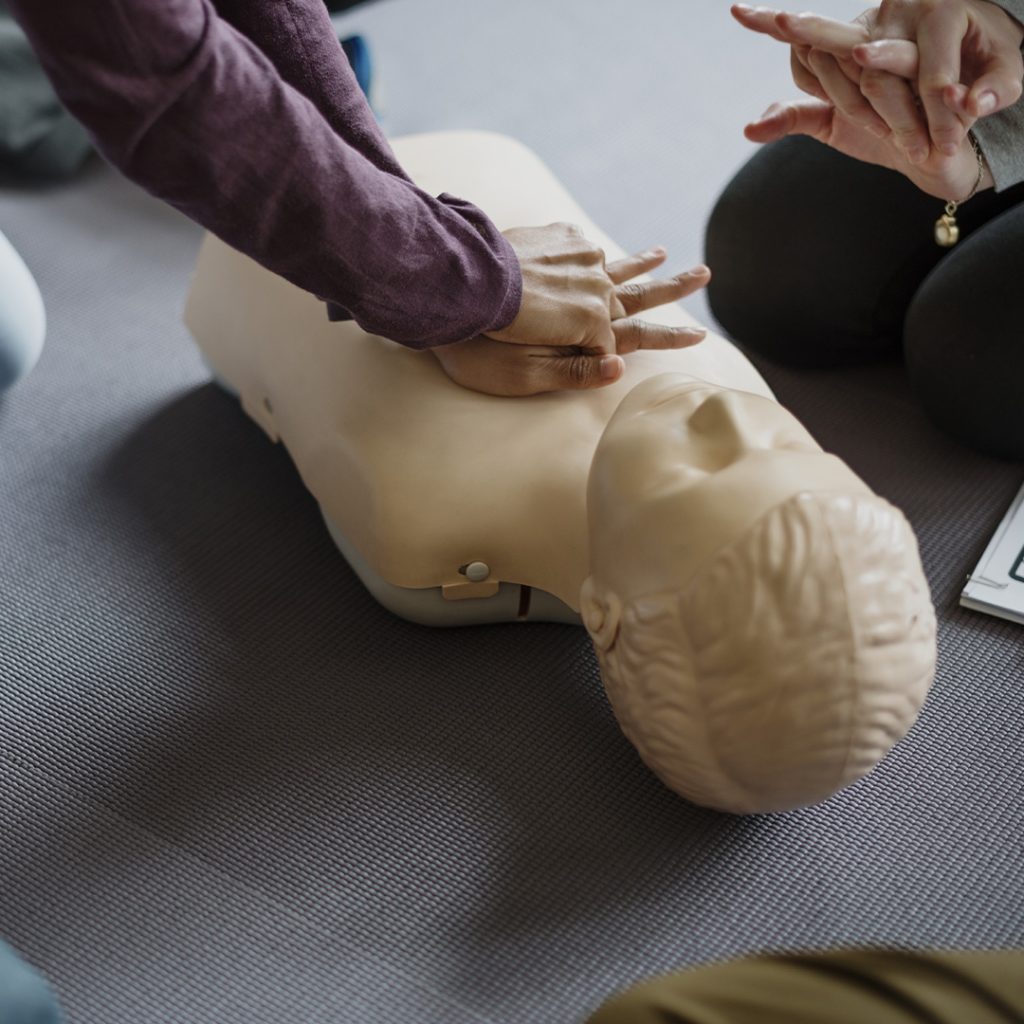
What is CPR?
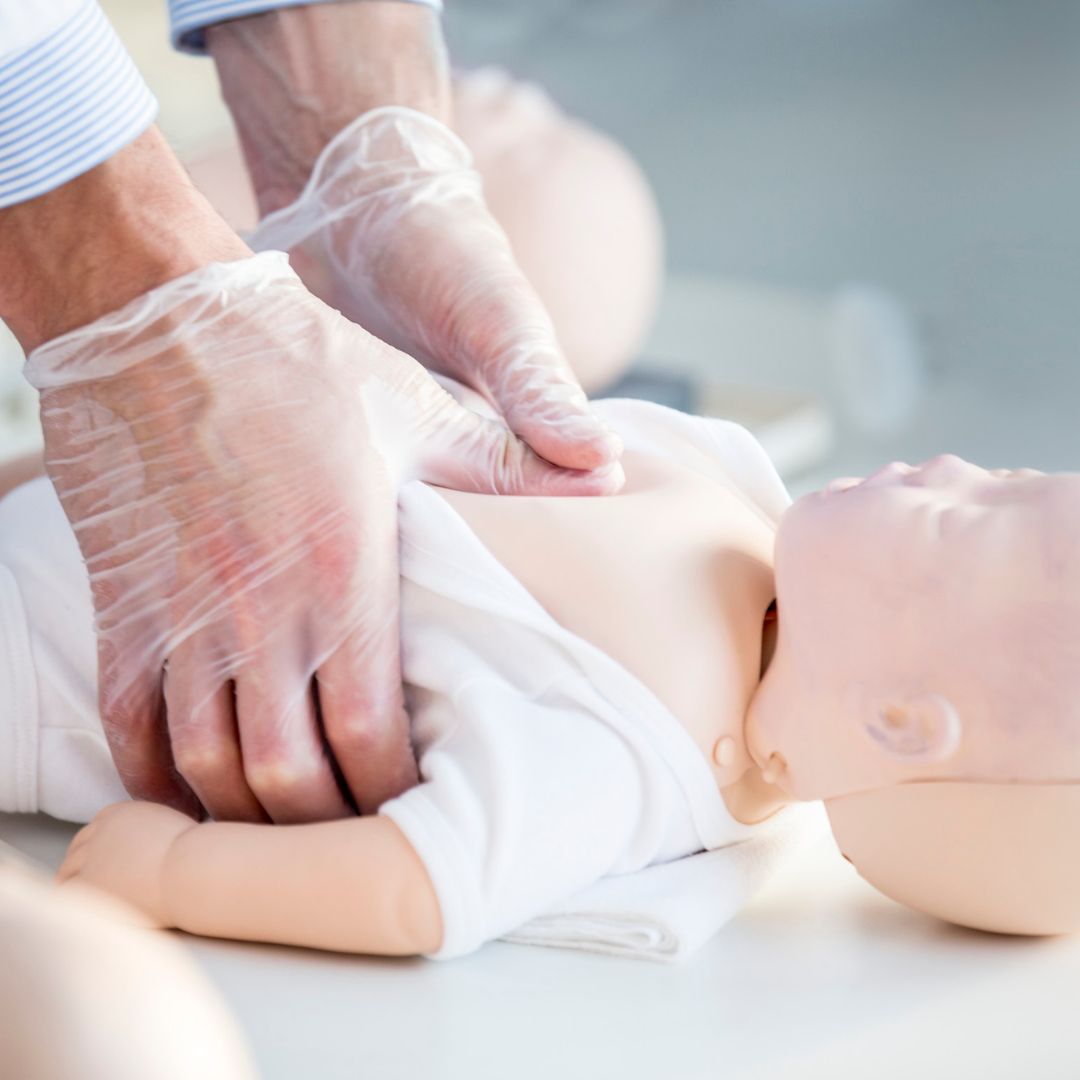
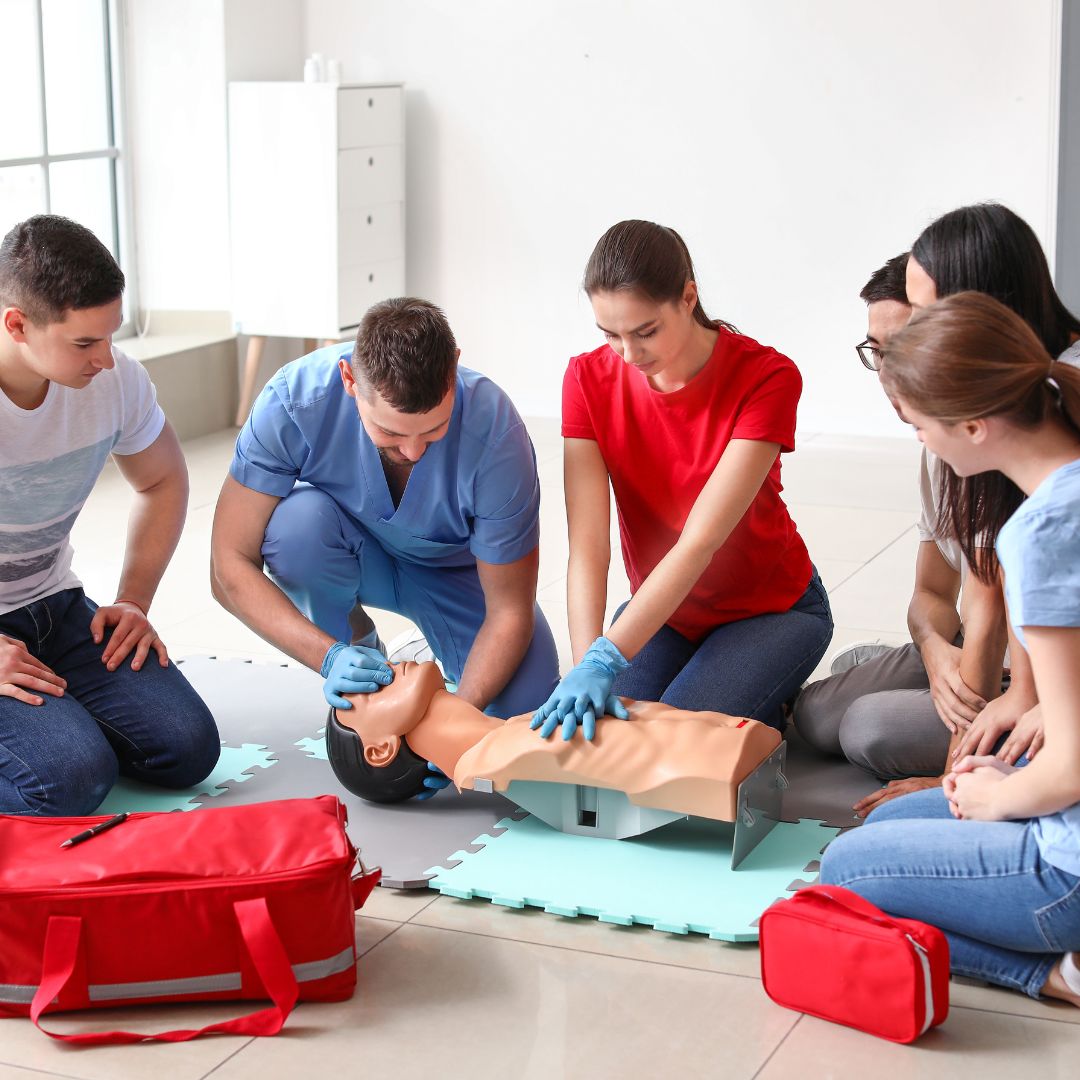
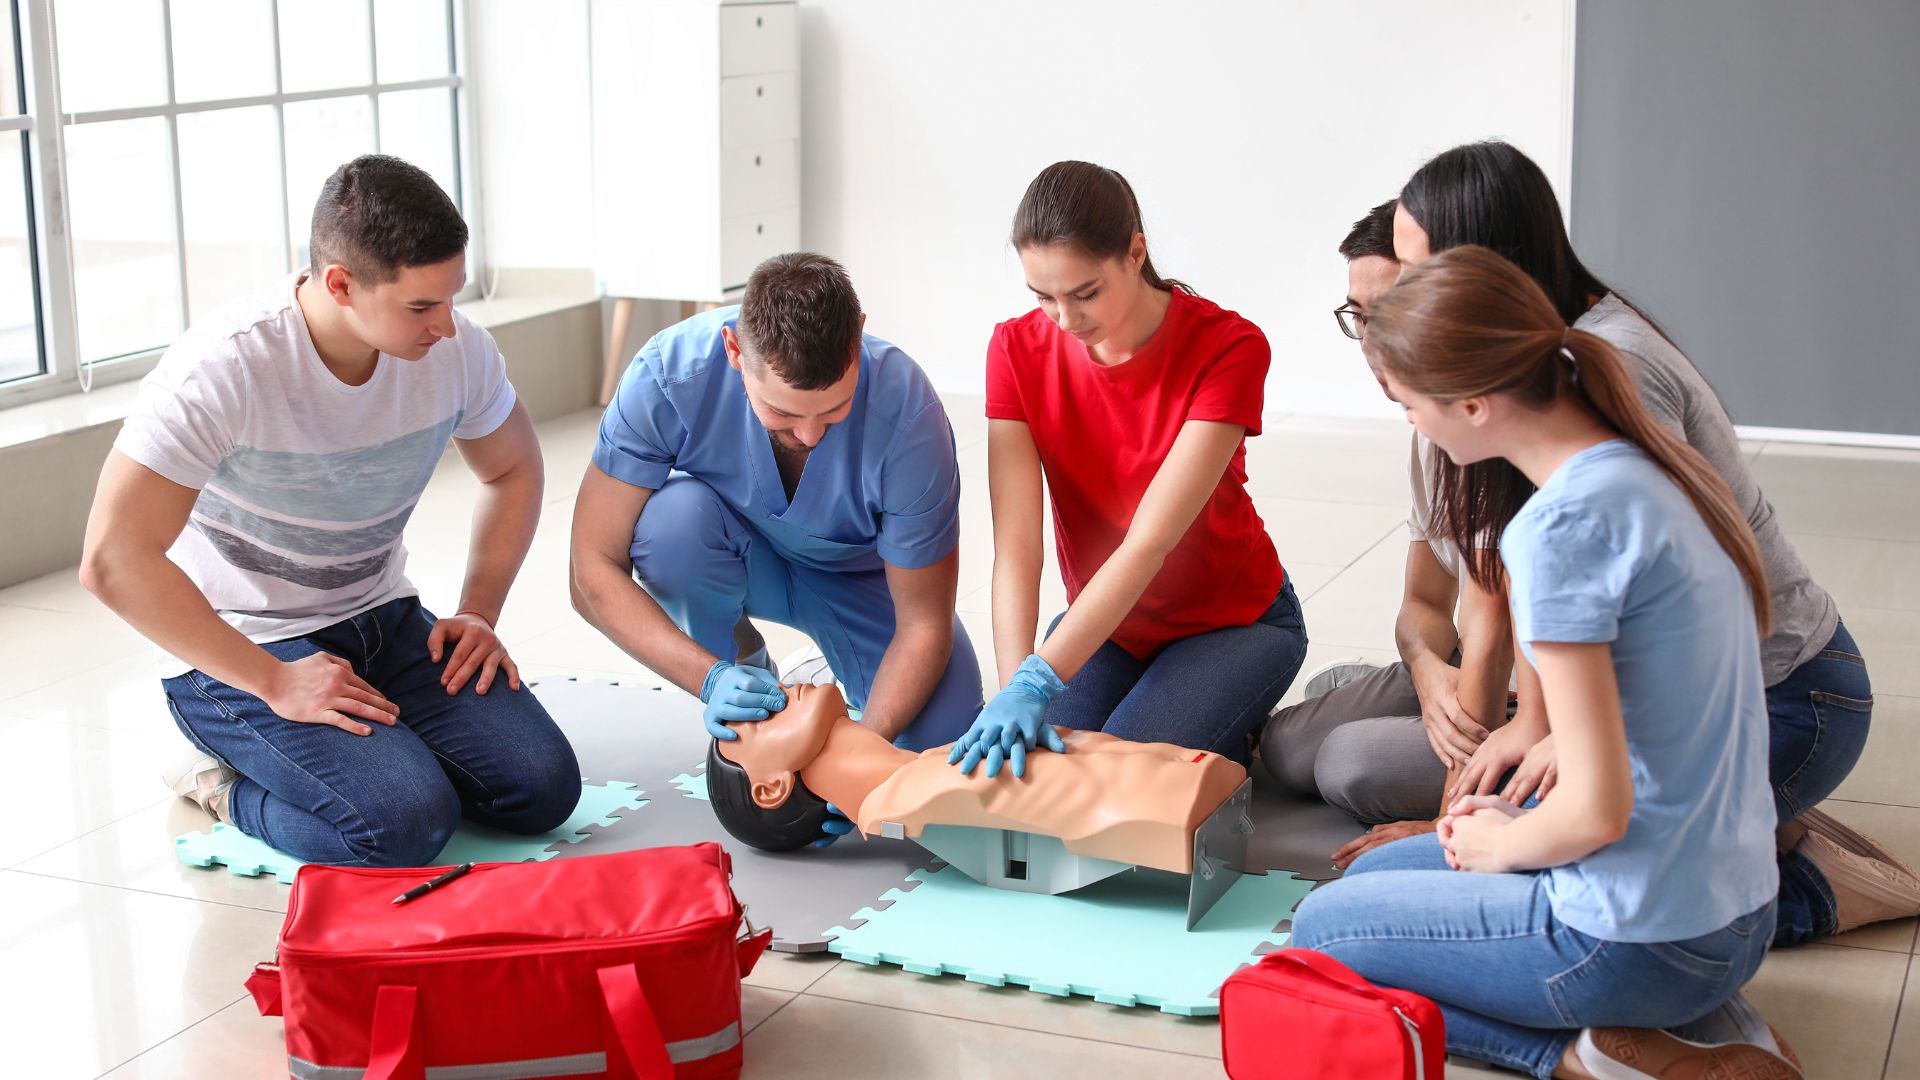
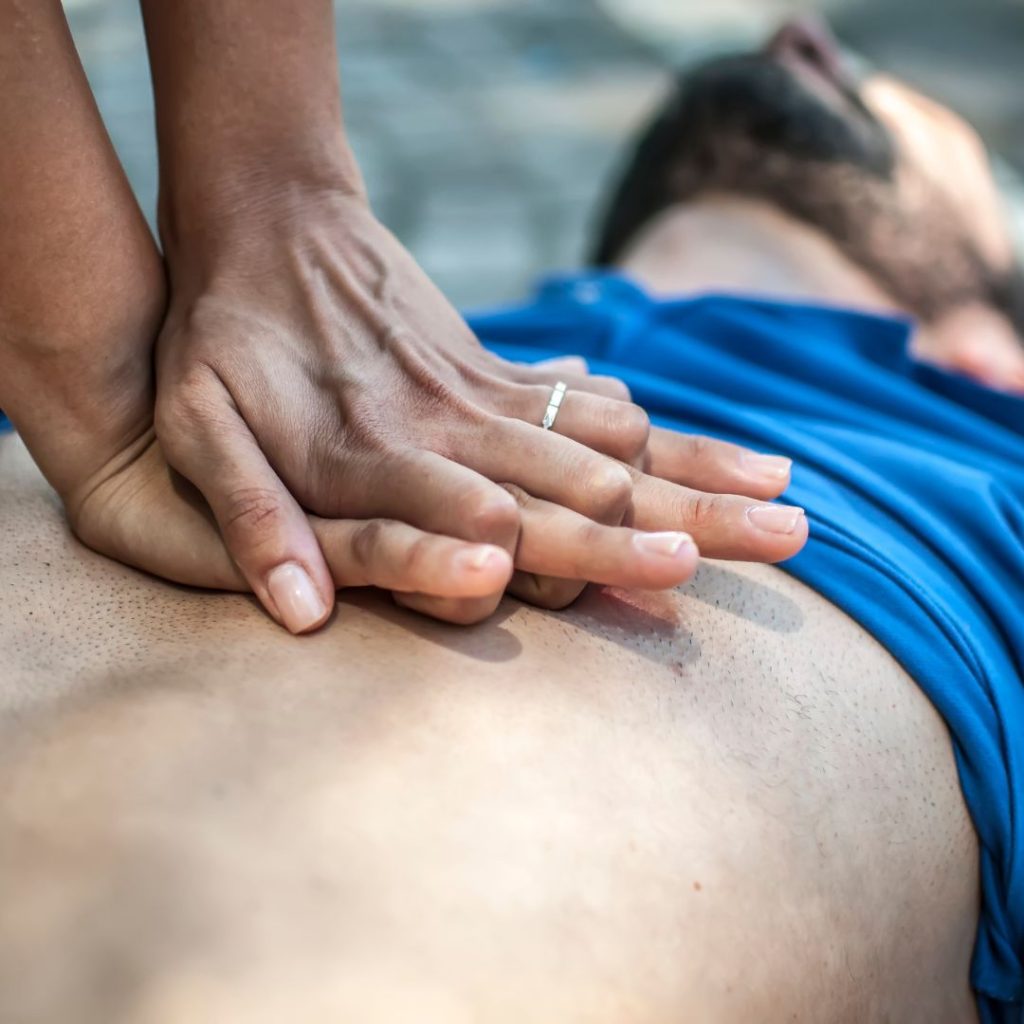
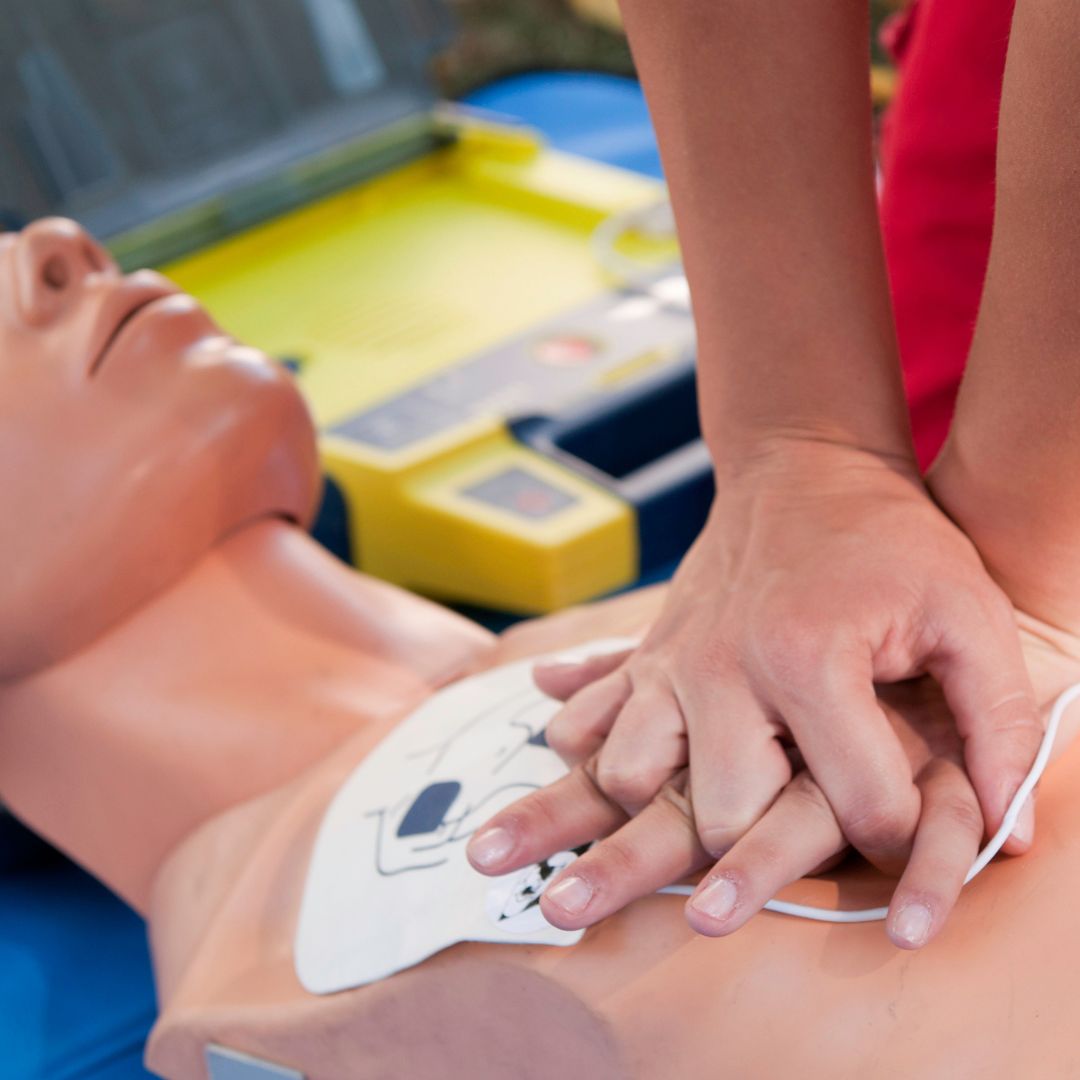
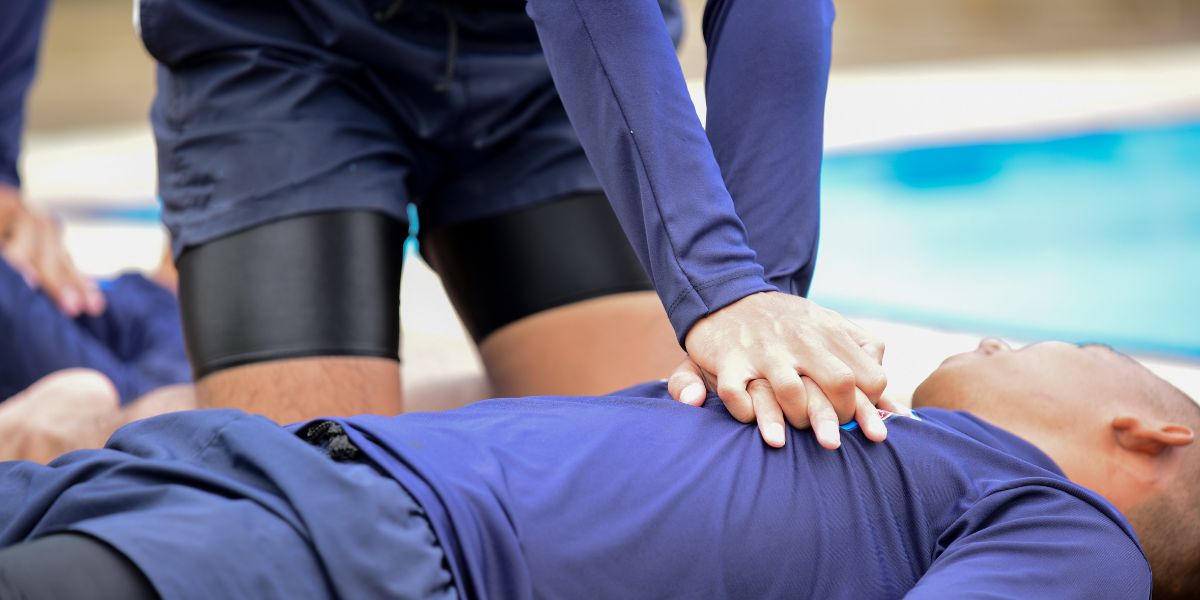
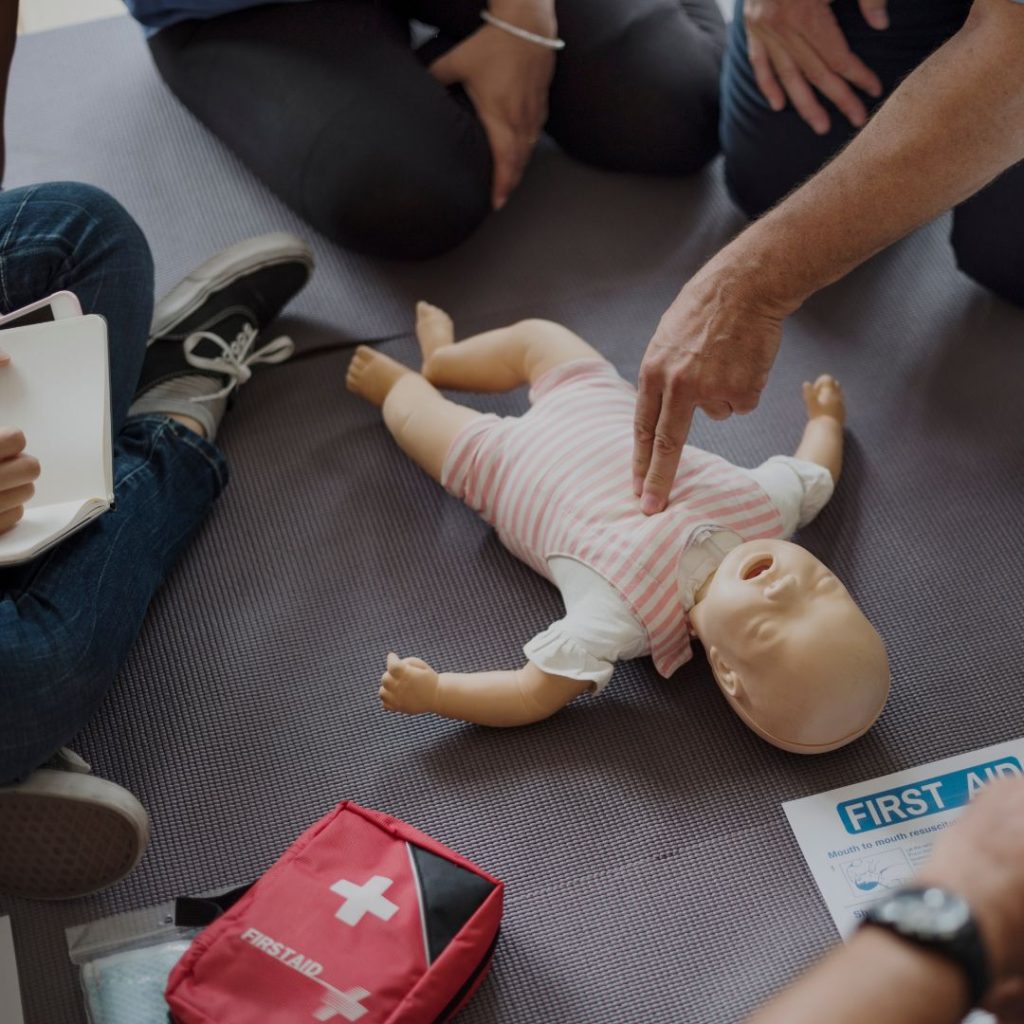
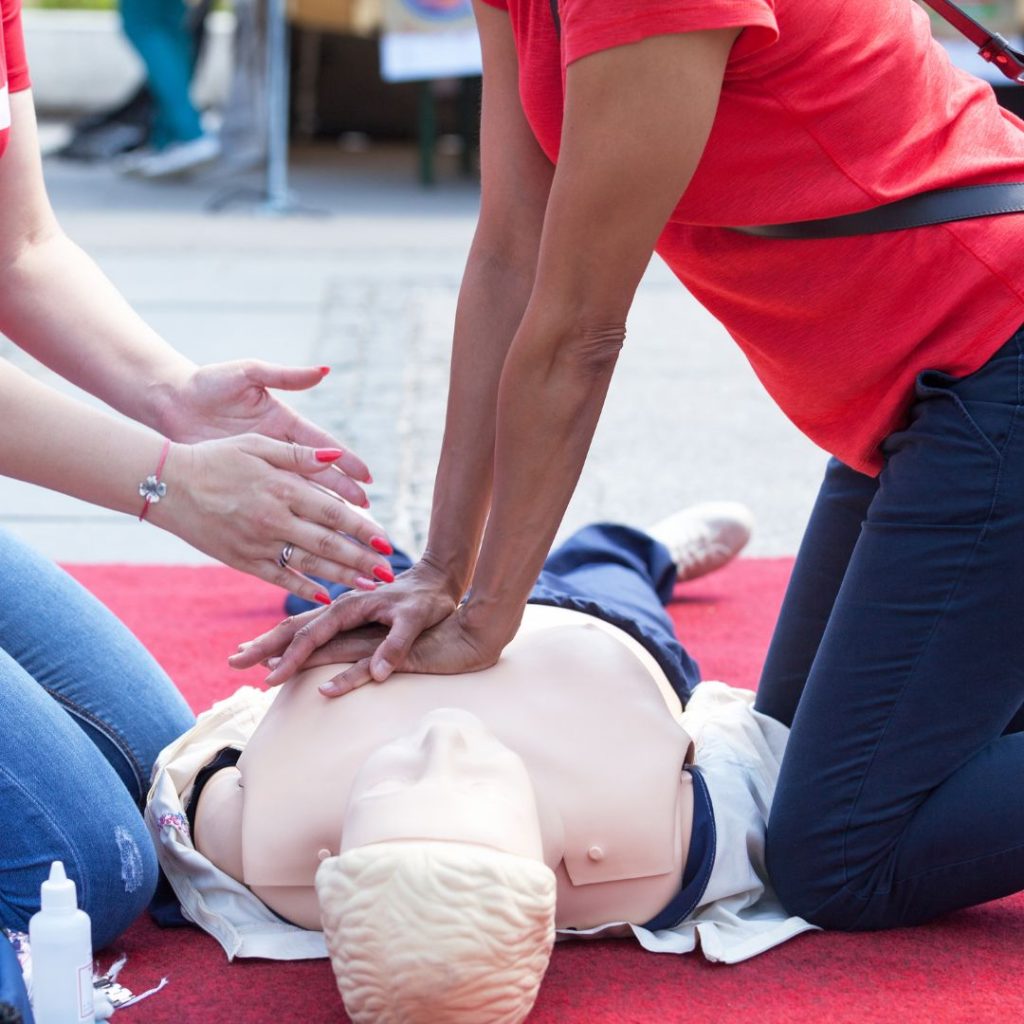
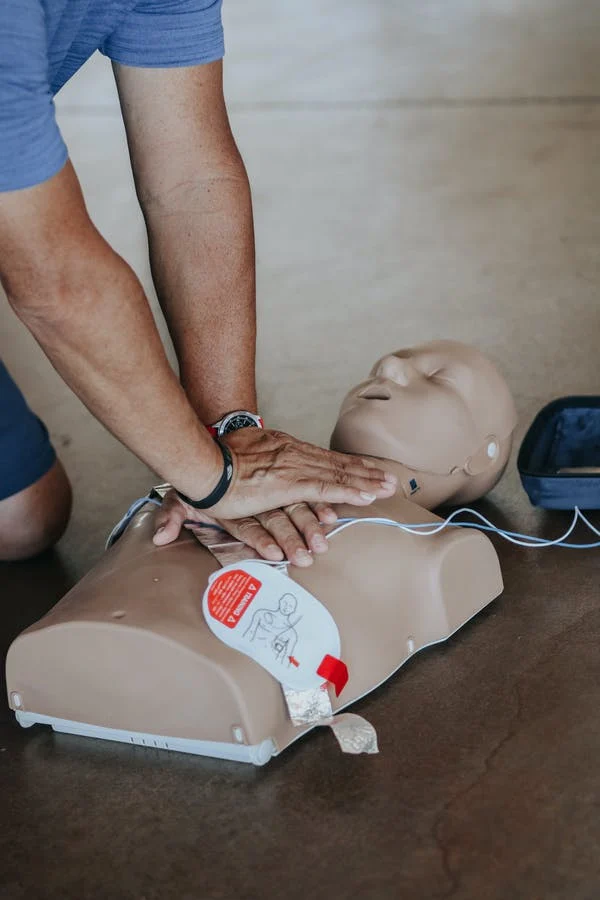
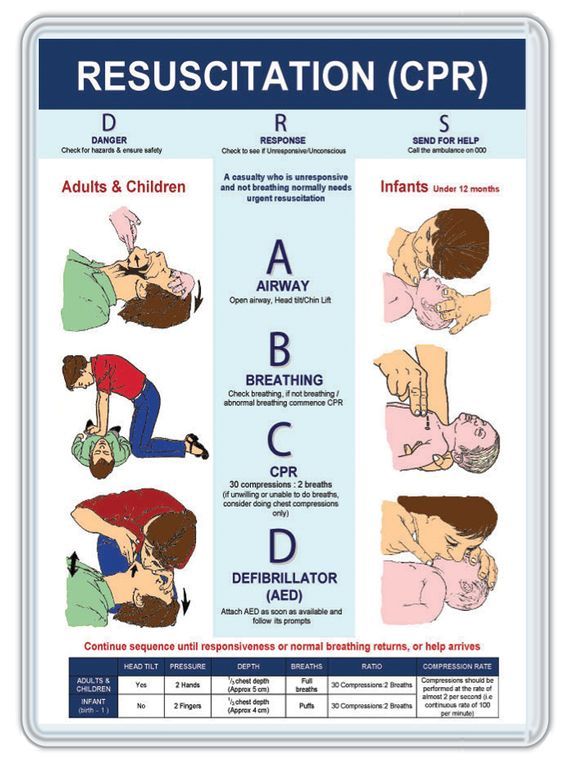
CPR, or cardiopulmonary resuscitation, is a life-saving technique that is used to revive someone who has stopped breathing. It involves chest compressions and mouth-to-mouth resuscitation. You can also learn hands-only CPR if you are uncomfortable about providing breaths during the resuscitation process. CPR can be used on adults, children, and infants.
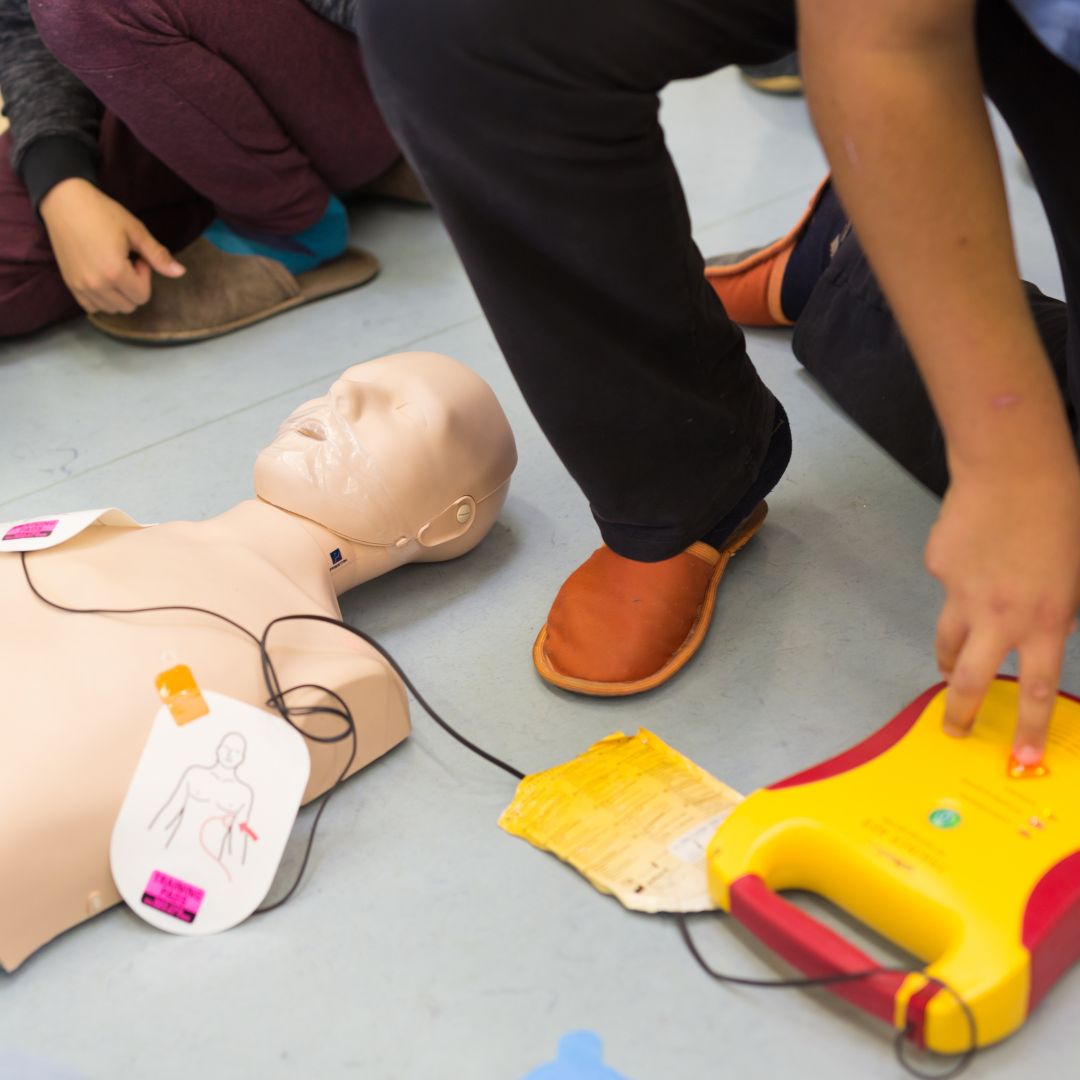
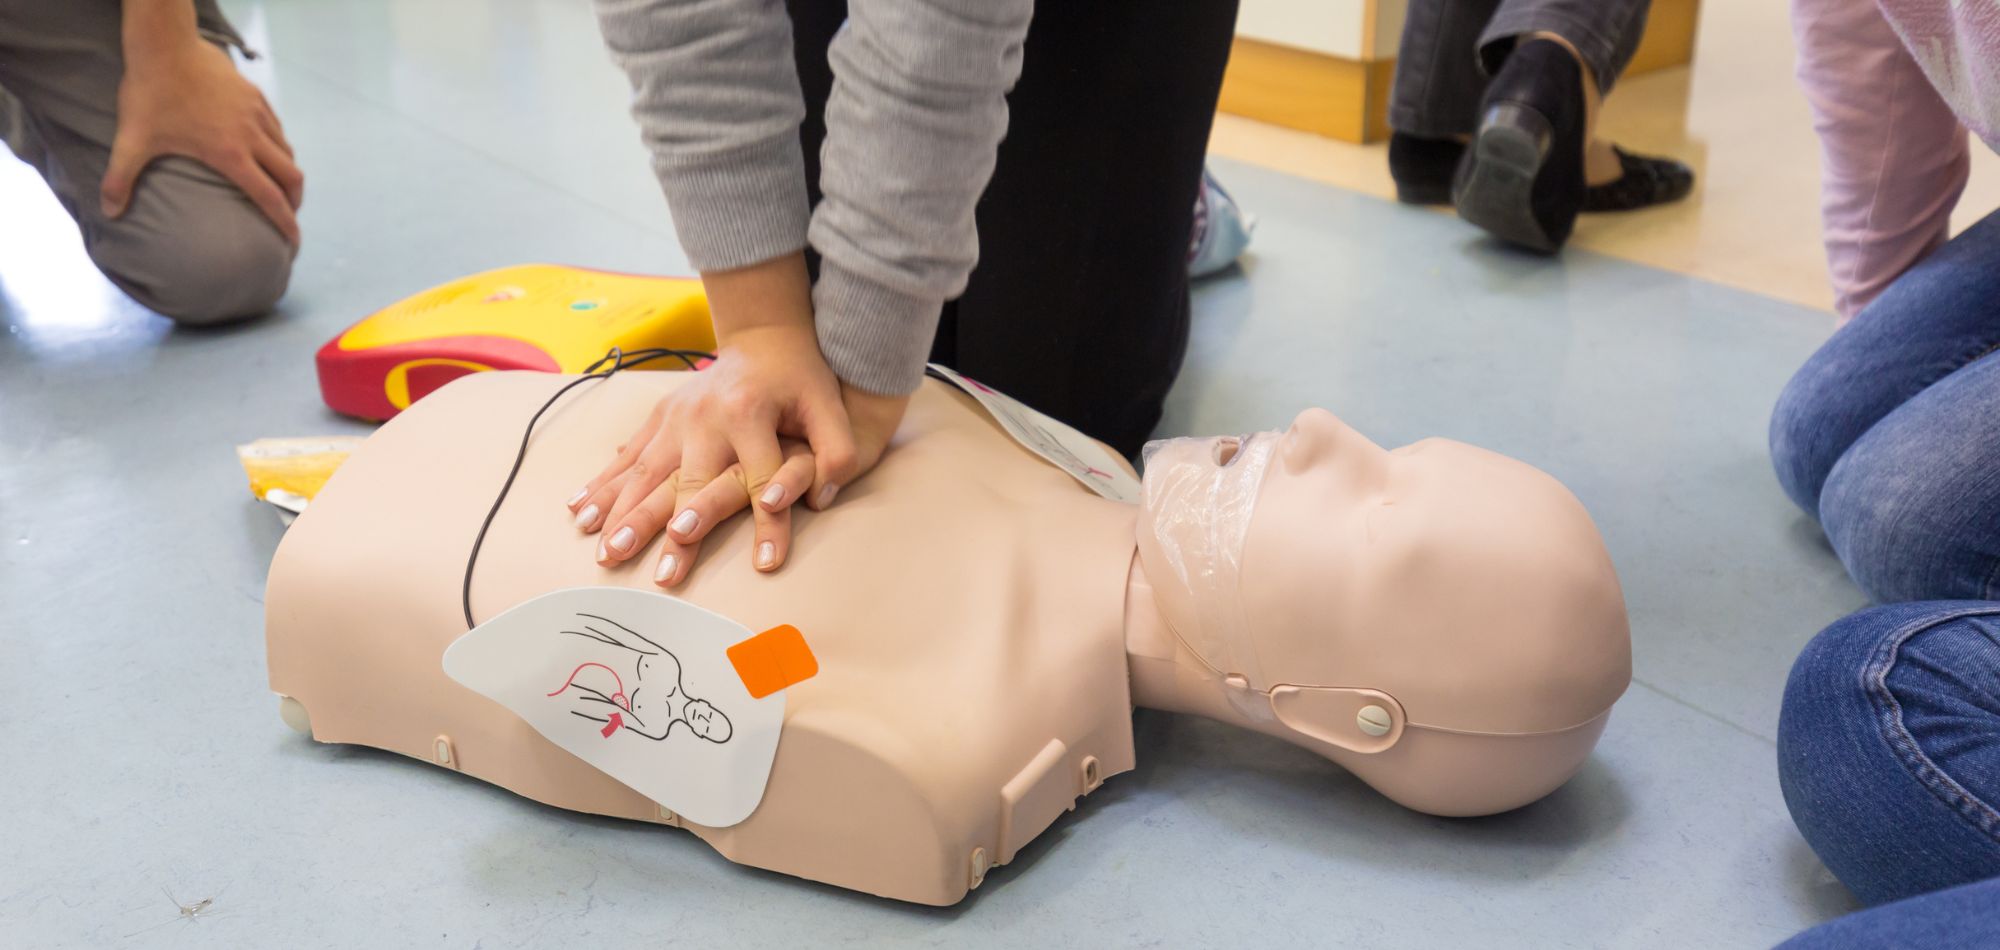
When performed correctly, CPR can be successful in restoring breathing and circulation. A great many more lives could be saved if more people would take the training.
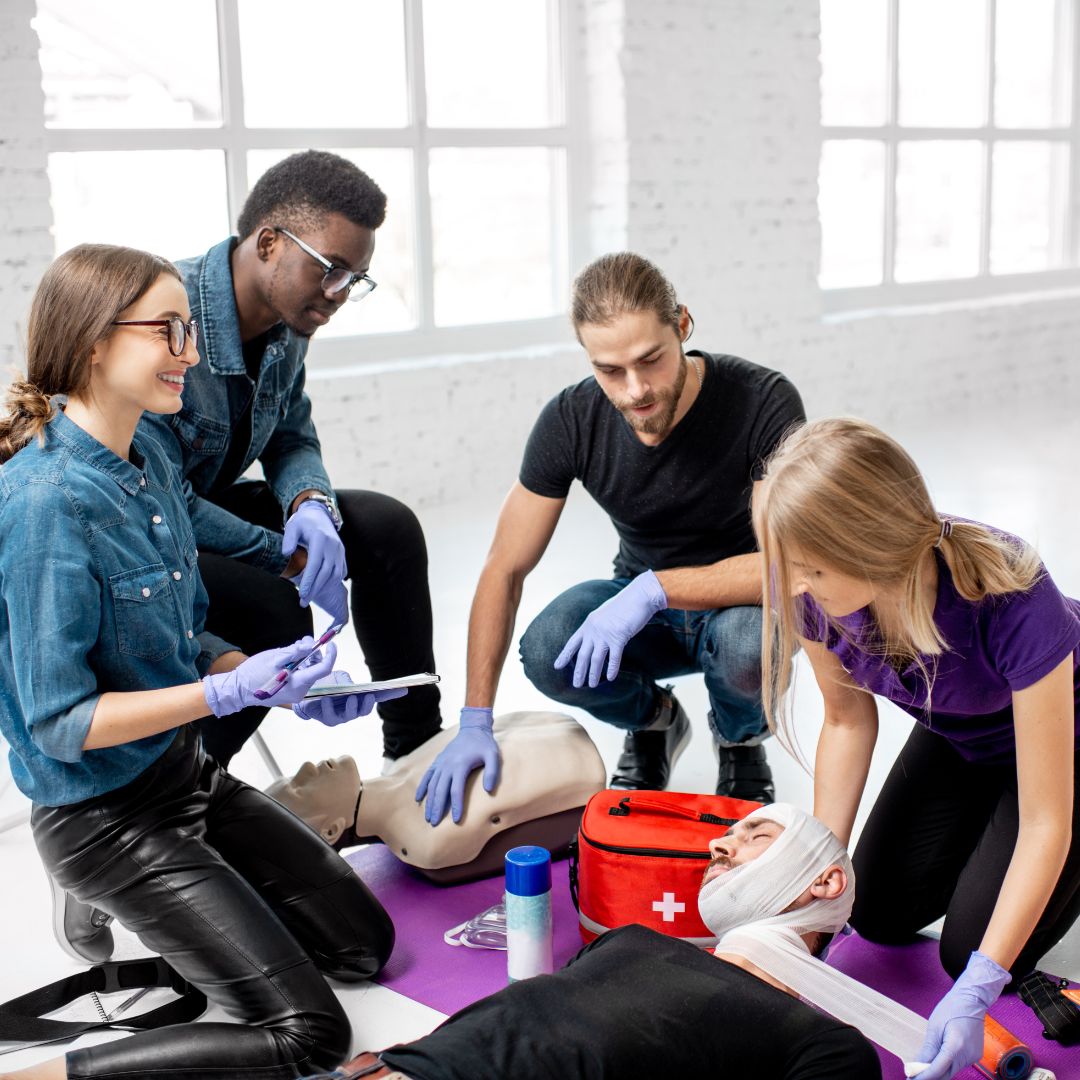
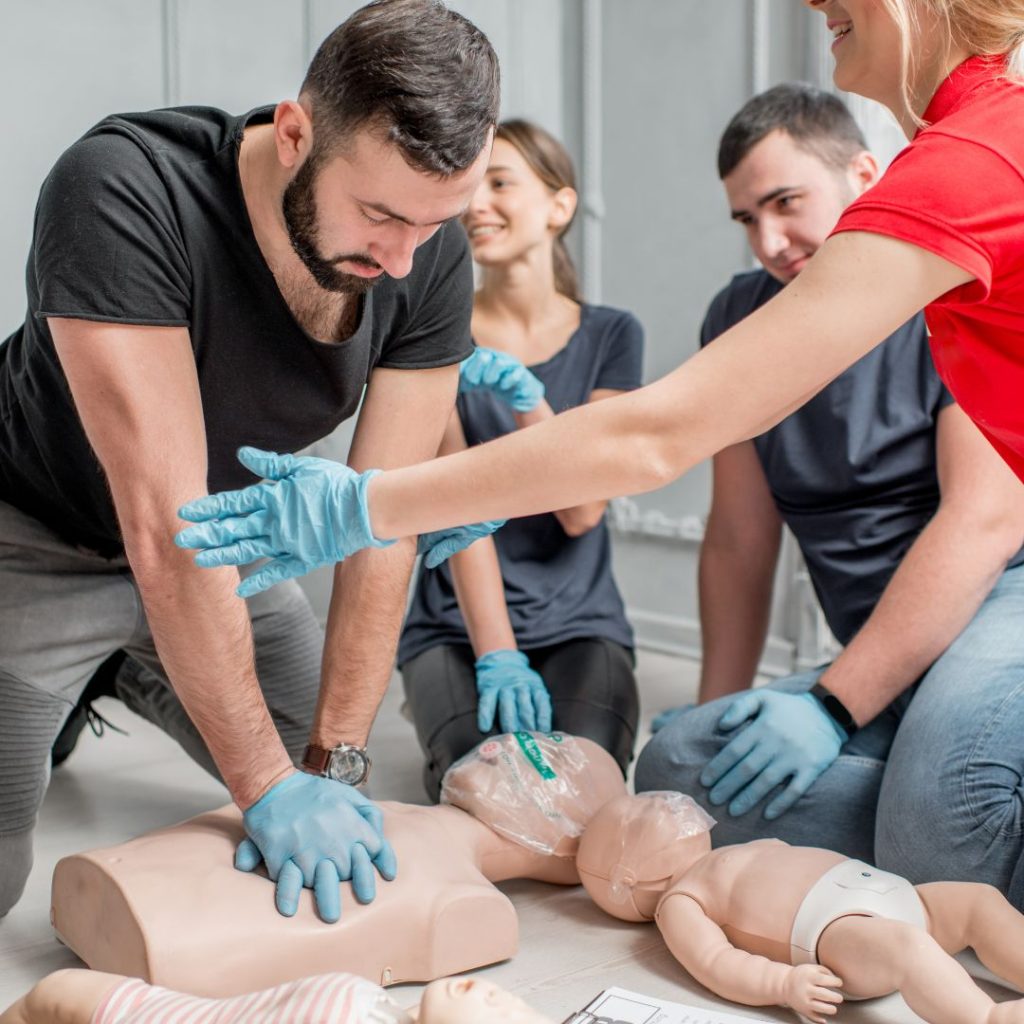
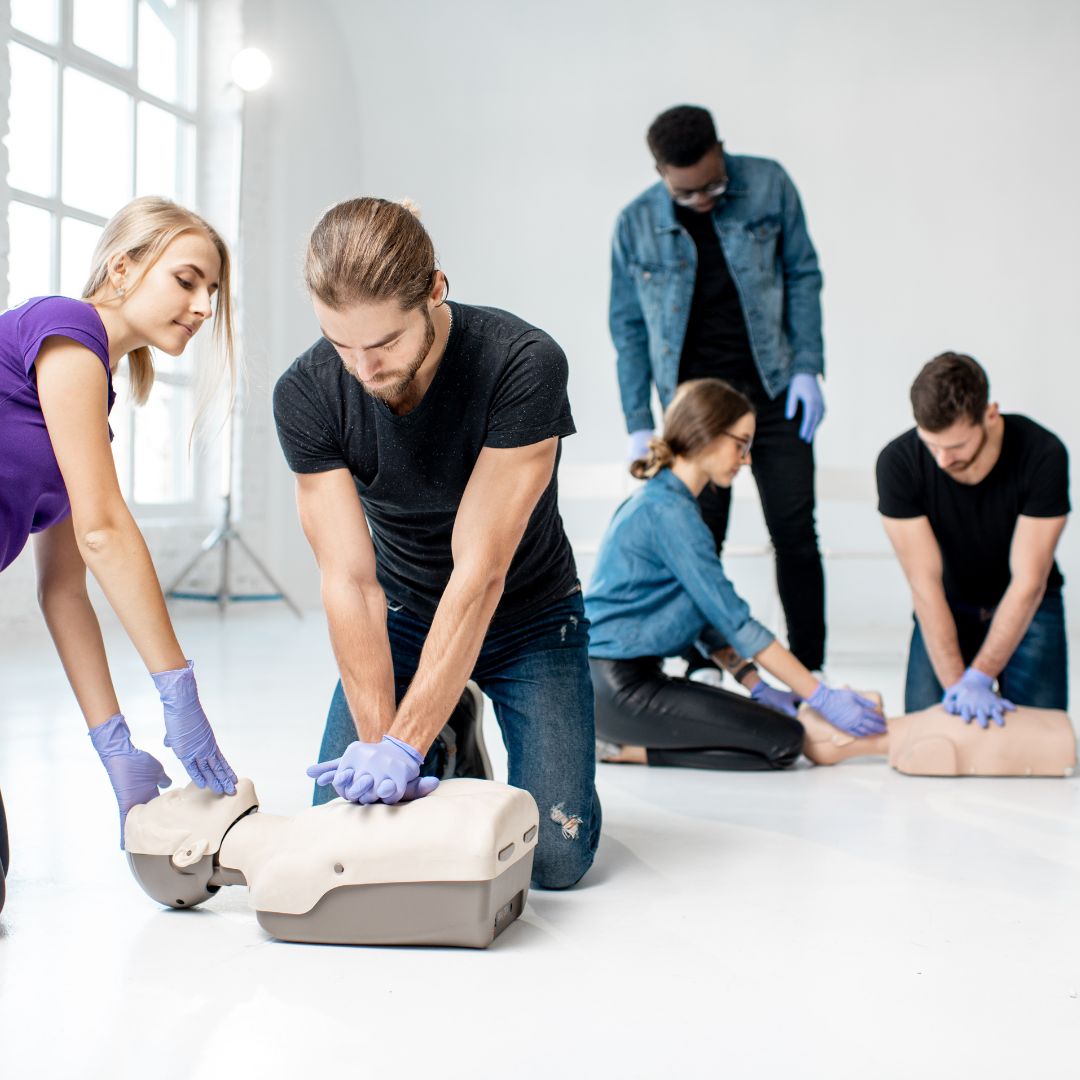
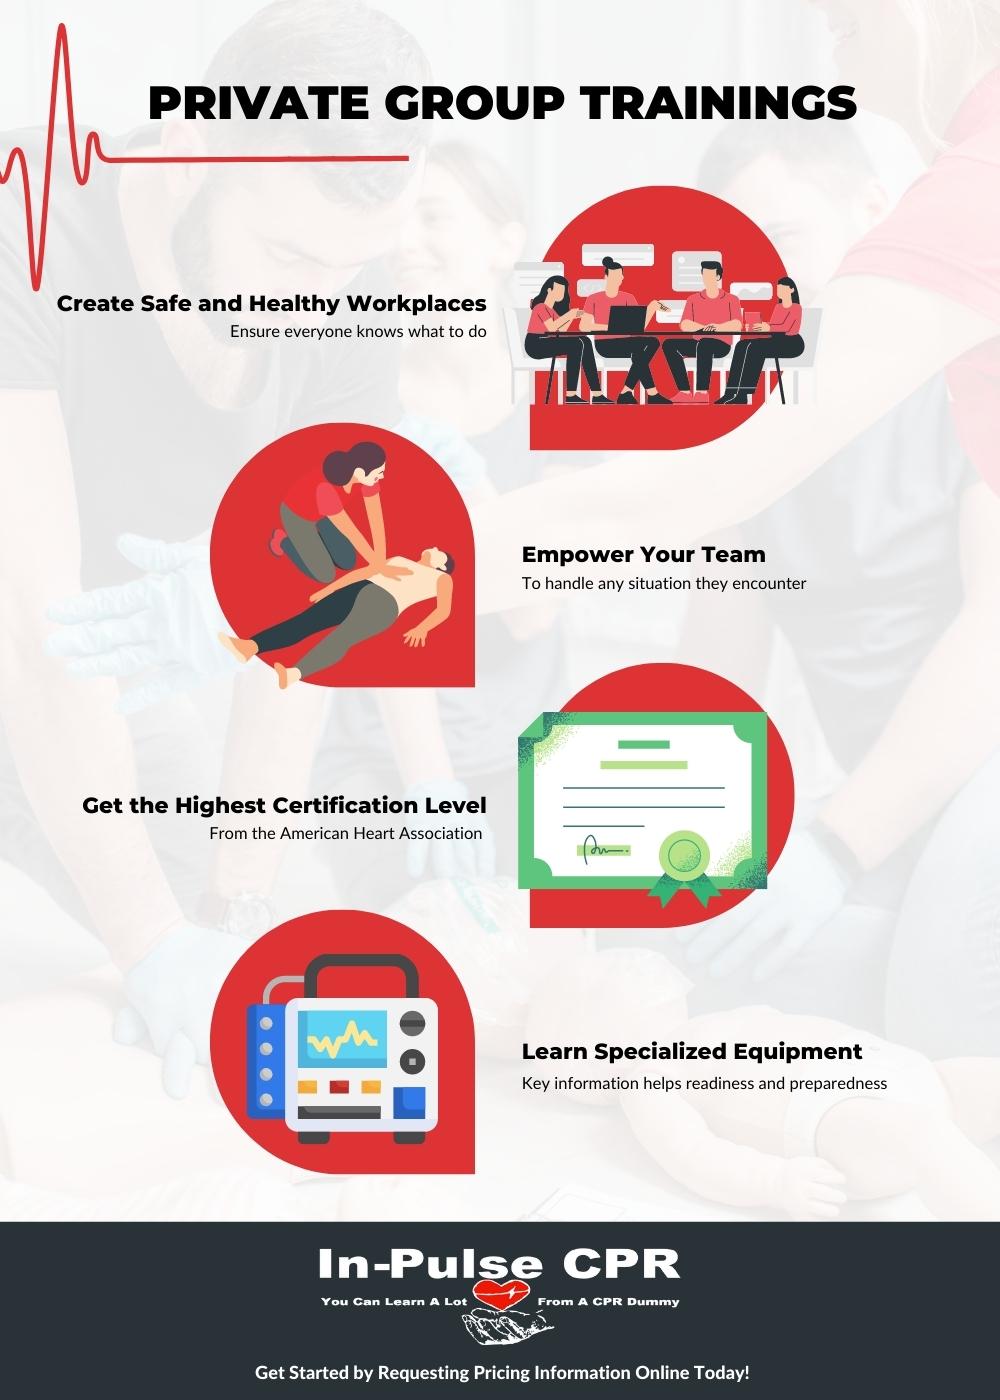
Why you should learn both first-aid and CPR
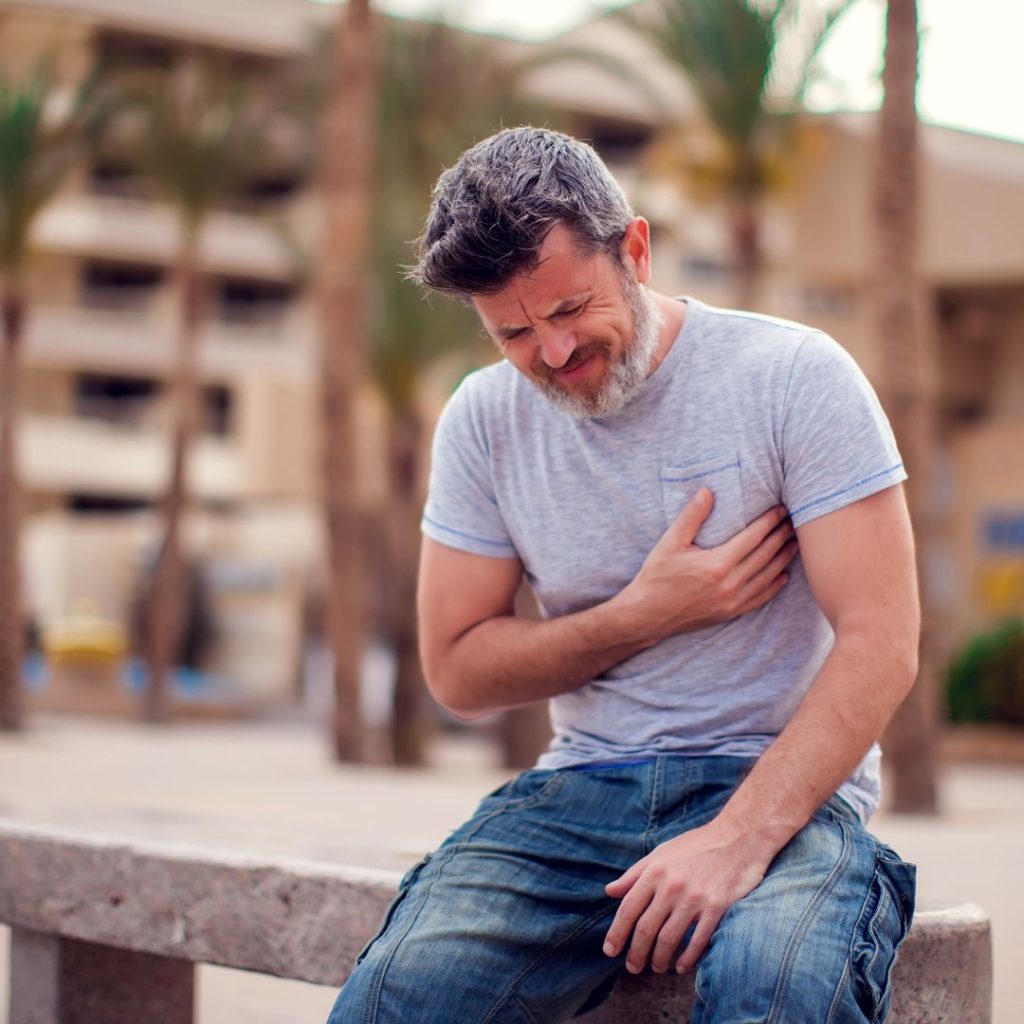
If you are the type of person who likes to be prepared for anything, then you should learn both first-aid and CPR. First-aid will help you handle most minor injuries and health issues, while CPR will help you be able to save someone’s life in the event of a cardiac or respiratory emergency.
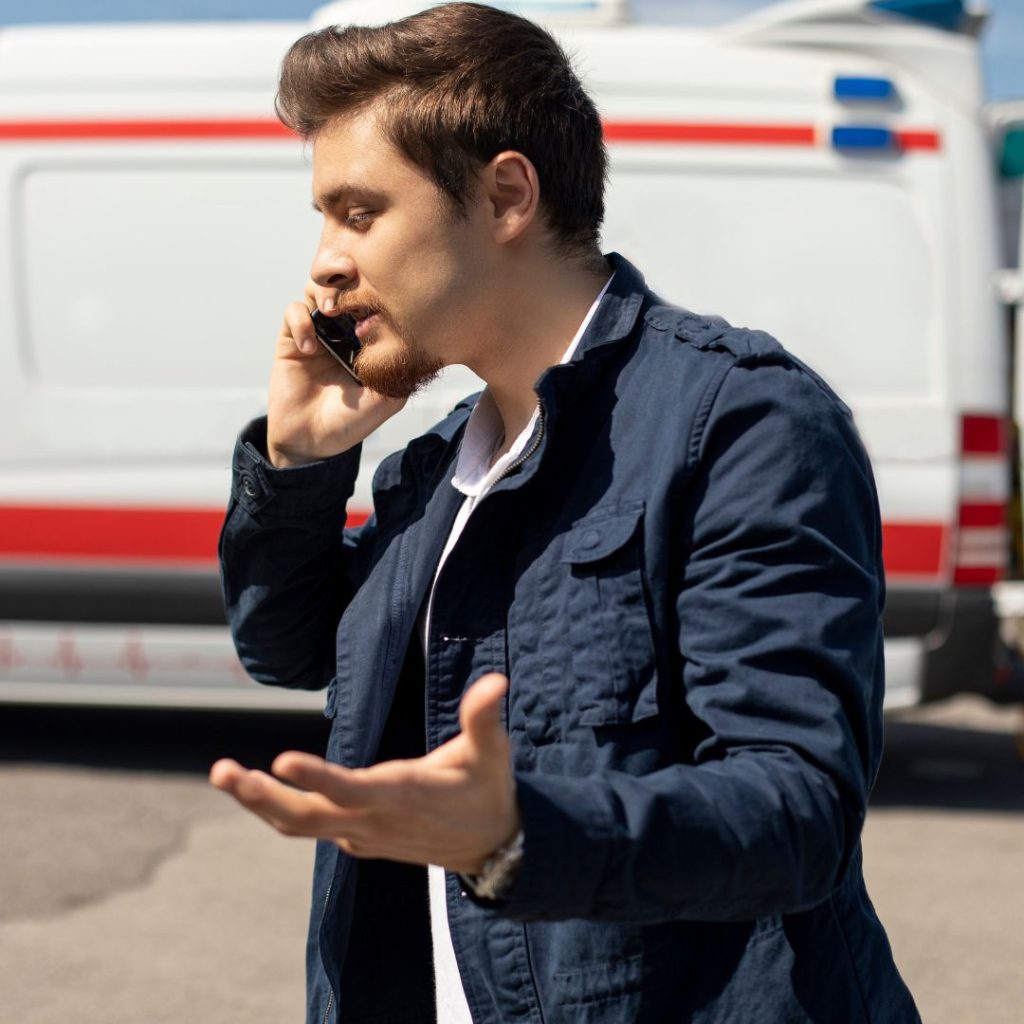
While it is always best to call 911 in the event of a serious medical emergency, having both first-aid and CPR training will give you the courage to manage the situation until help arrives. Knowing how to properly administer CPR can mean the difference between life and death for someone in cardiac arrest, so it is definitely worth taking the time to learn.
In addition, learning first-aid can also come in handy in everyday situations. From knowing how to properly deal with a nosebleed to being able to effectively treat a burn, having a knowledge of first-aid can help you out in a variety of different situations.