Becoming a CNA offer Flexibility

Your job is an important part of your life, but it is not the only important part of your life. The best careers help make the other areas of your life, such as your finances and family relationships, even better. At In-Pulse CPR, we talk with a lot of people who are considering careers as Certified Nursing Assistants. One of the major draws to this career is the flexibility that it offers.
Schedule Flexibility
From a regular 9-5 weekday schedule to overnight shifts and everything in between, a career as a CNA offers schedule options for everyone. If you choose to work in a private practice, you will normally enjoy a regular weekday schedule that allows you to spend the evenings and weekends with your family and friends. If you need to care for your young child during the day, you can secure overnight shifts at a hospital or other healthcare facility. Being able to choose a position that fits with your desired schedule is one of the top perks that CNAs state when they are asked about the benefits of their career choice.
Location Flexibility
In addition to having flexibility regarding your schedule, a CNA degree also gives you flexibility regarding your location. Since CNAs are in such high demand across the United States, you should be able to secure a job no matter where you live. Whether you need to relocate for your spouse’s career or you simply want a change of scenery, your CNA degree gives you the flexibility you need to make these exciting changes happen.
Income Flexibility
It’s no secret that there is currently a nursing shortage in this country. Although this can be bad news from employers who need to hire nurses and nursing assistants, the vast amount of available work can be very good news for CNAs who are trying to make a good living. As a CNA, you will often have the opportunity to pick up extra shifts. This is especially helpful when you want to save money for a special occasion, such as a family vacation, or before the holidays when you know that your expenses will be higher. Conversely, you can choose to just pick up a few shifts here and there to keep your skills fresh during the periods when you need time more than you need money.
Get ready to take advantage of the flexibility a CNA career provides by enrolling in CNA courses through In-Pulse.


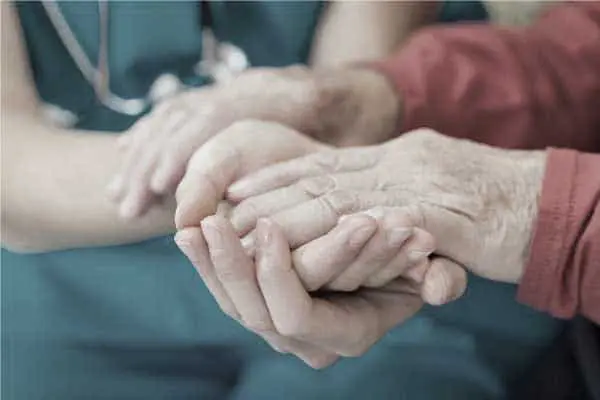
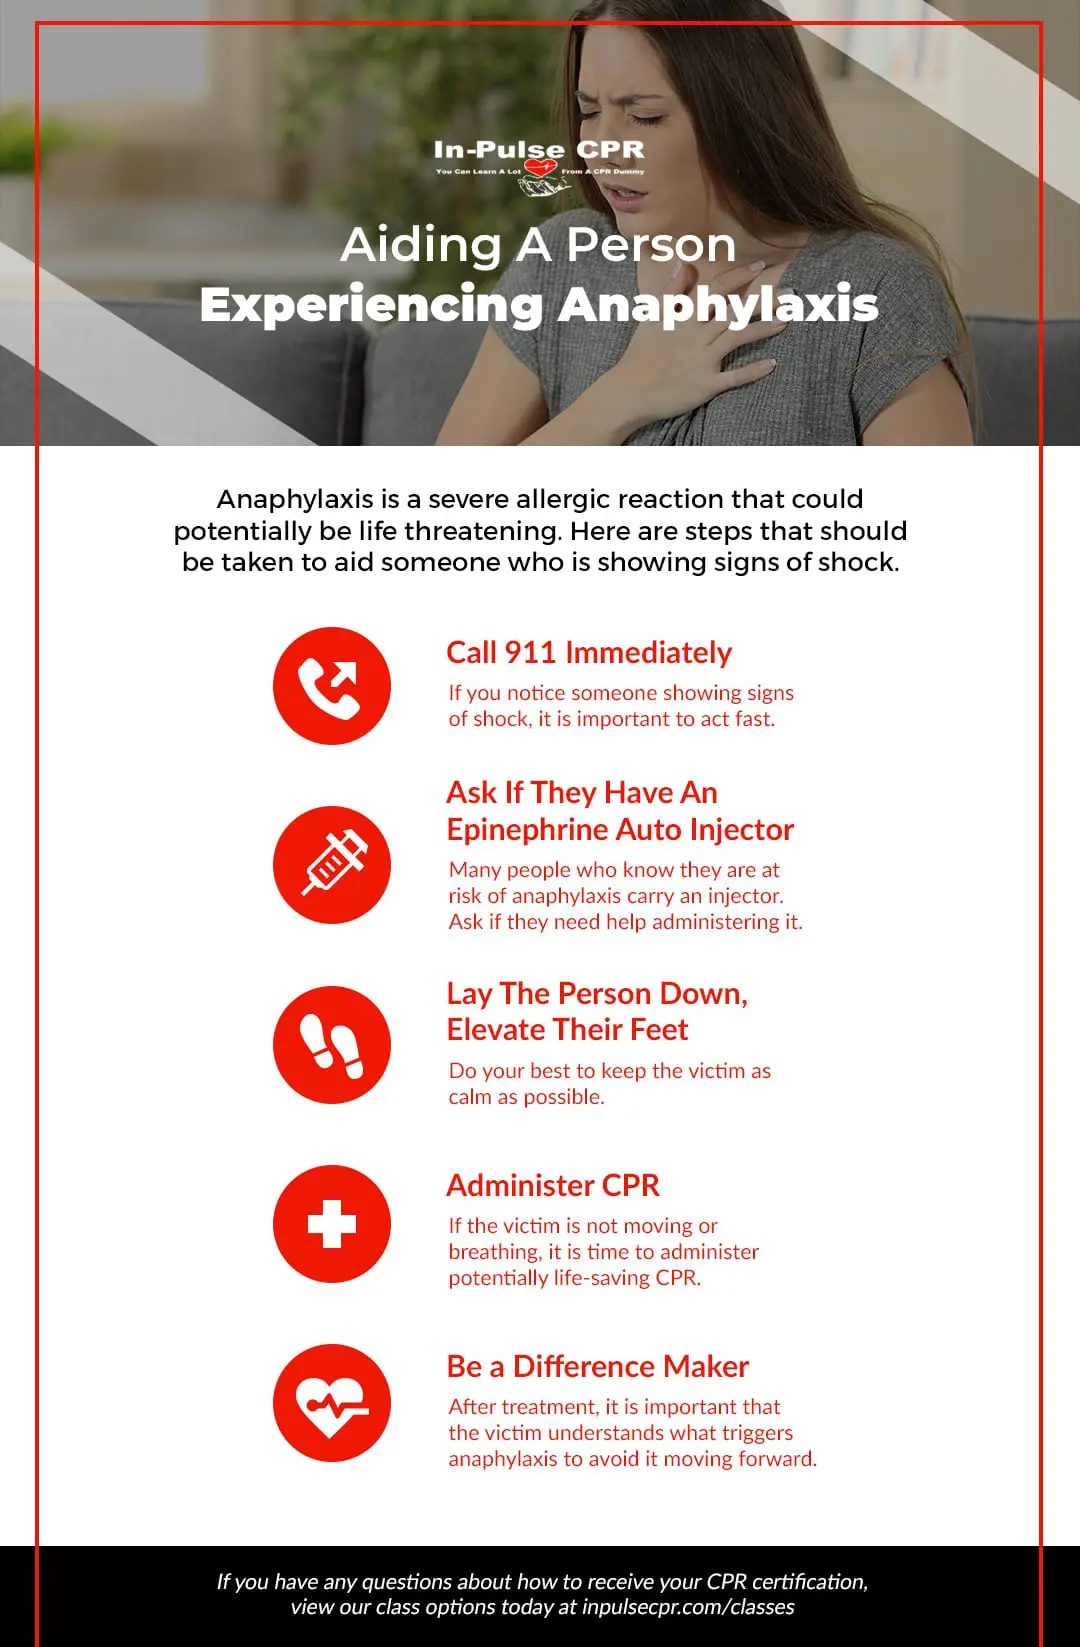
 We all want to help our friends and family. From assisting with chores to figuring out taxes and running errands, there are many ways in which people give assistance to those they care about. Those who work in medicine are uniquely equipped to provide care to their loved ones when they may need it, even under the most unexpected circumstances. Anyone lucky enough to have a doctor, nurse, or nursing assistant in their family or close circle of friends has at least one story of when that person was there to help in an emergency situation, or at least provide some guidance and reassurance during times of trouble or concern.
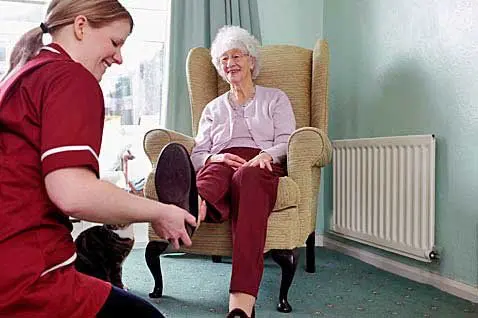


 The state of